Camping field guide
Tent Camping for Beginners
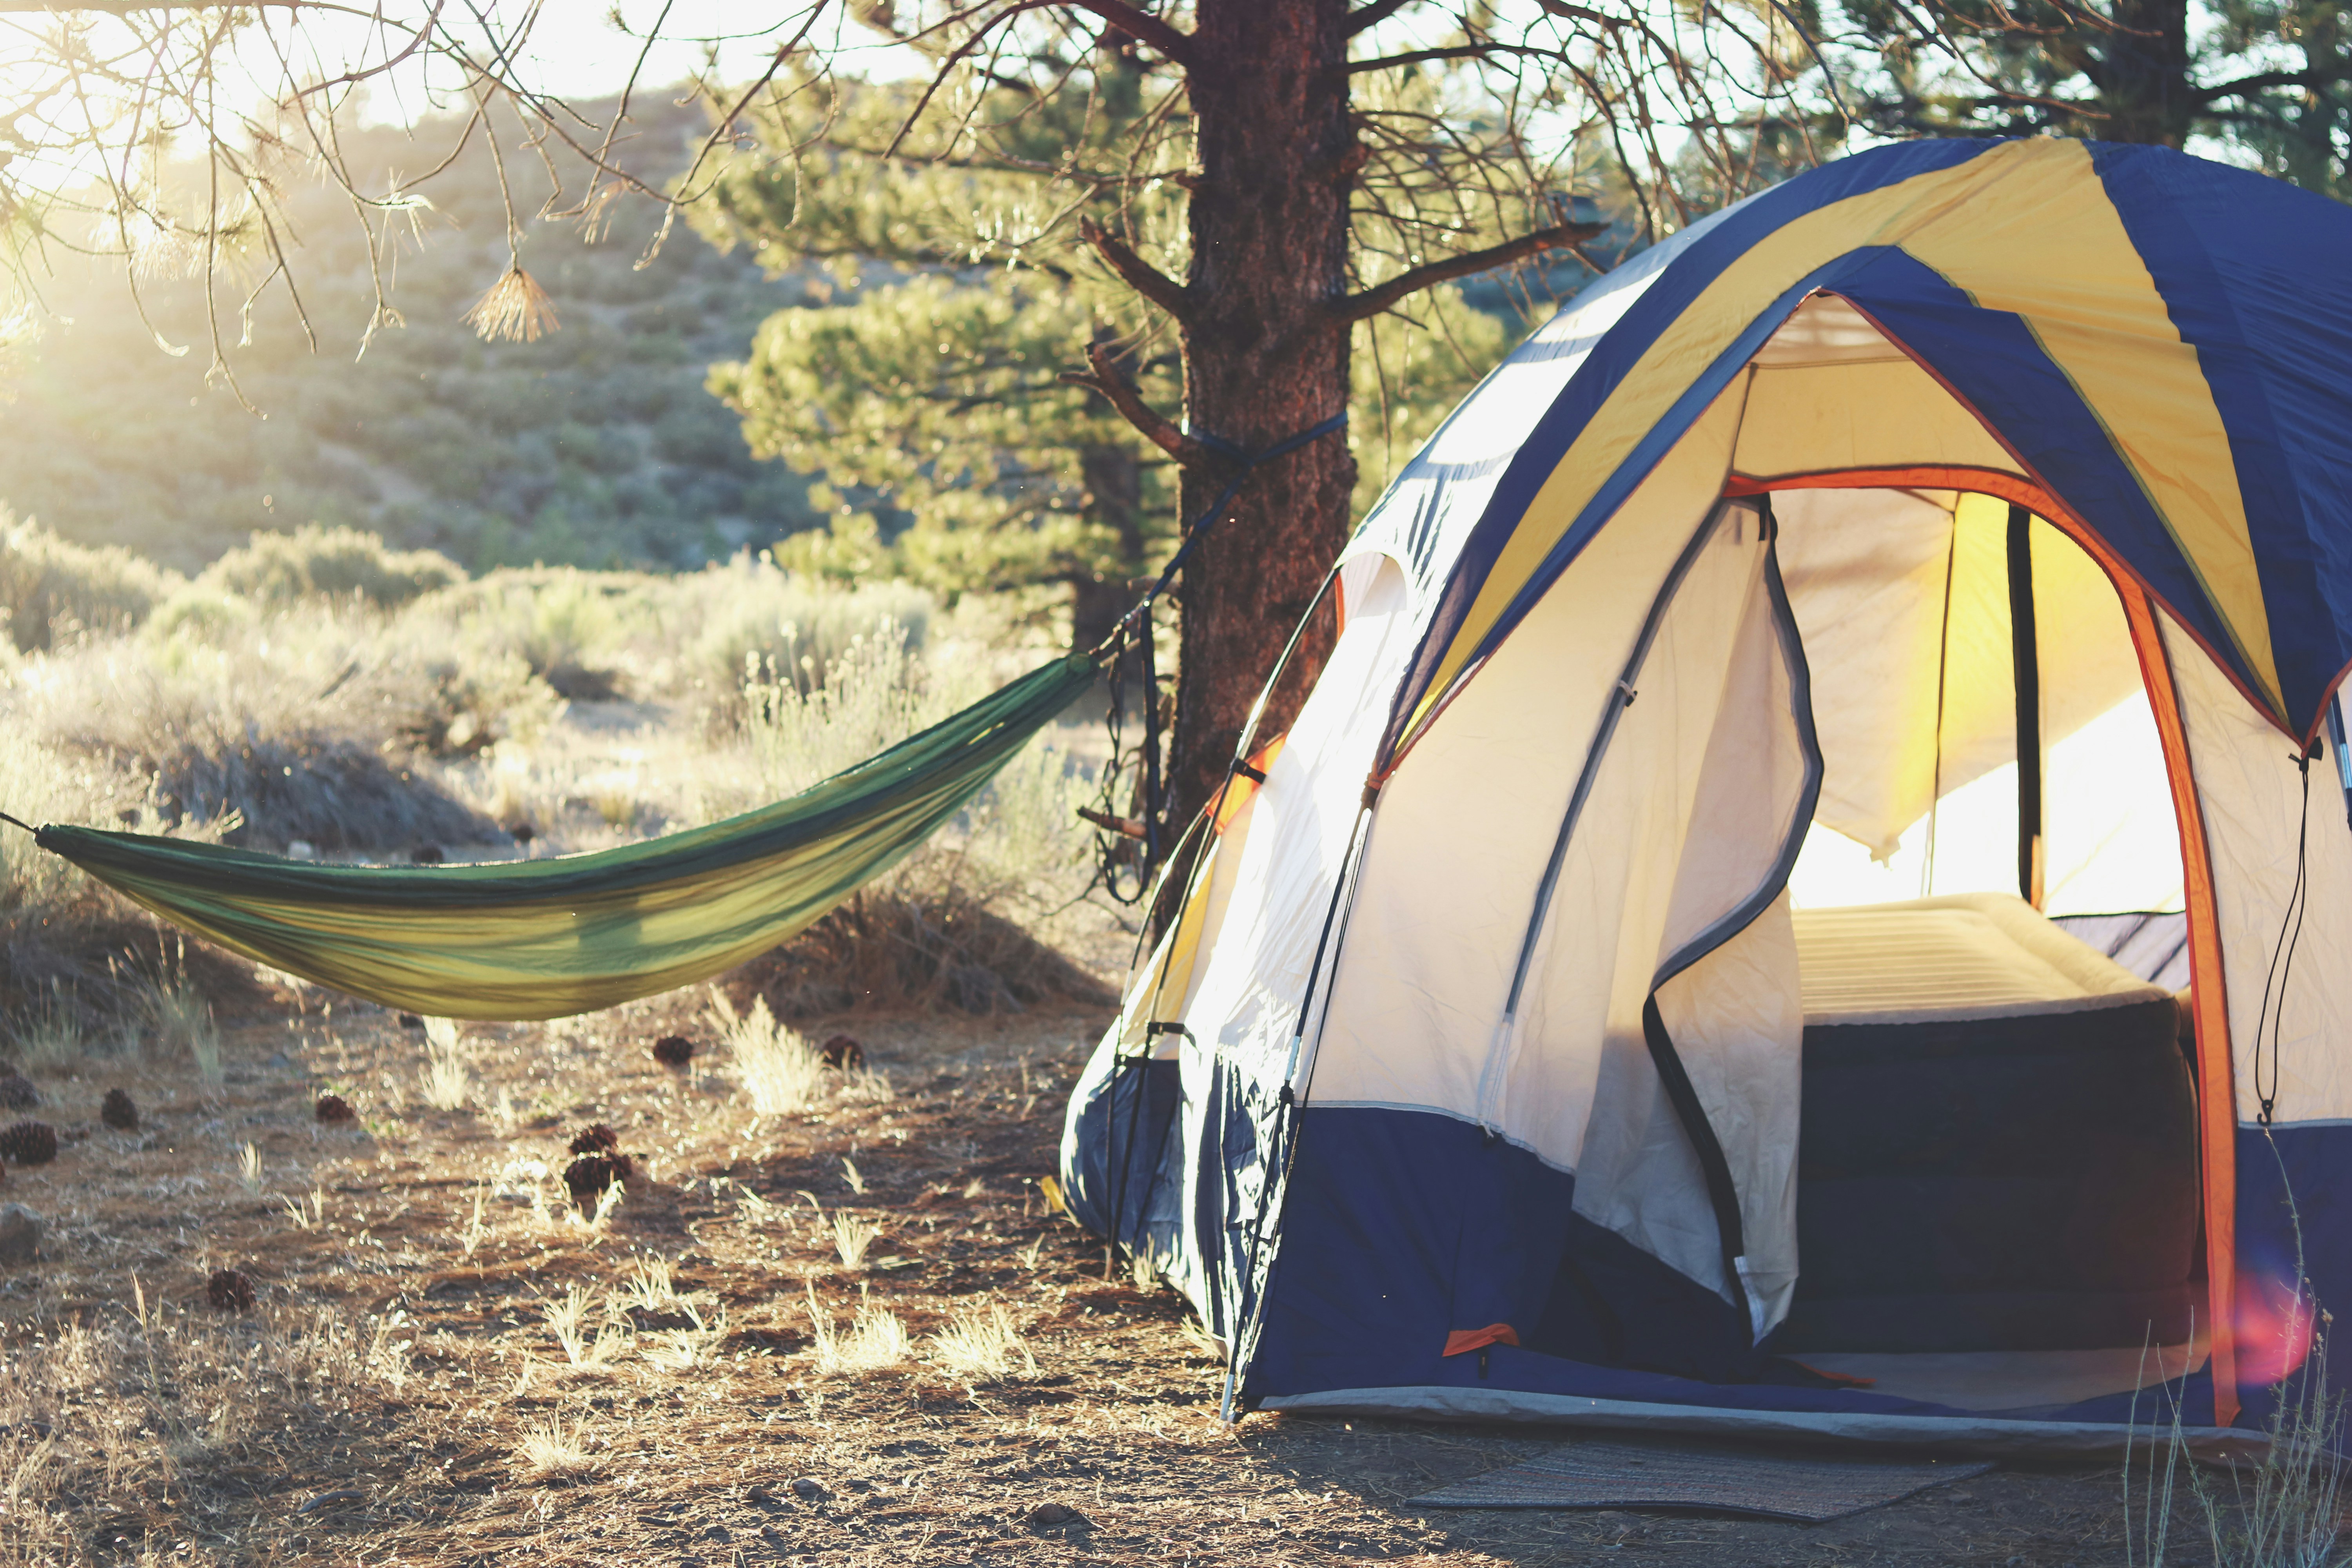
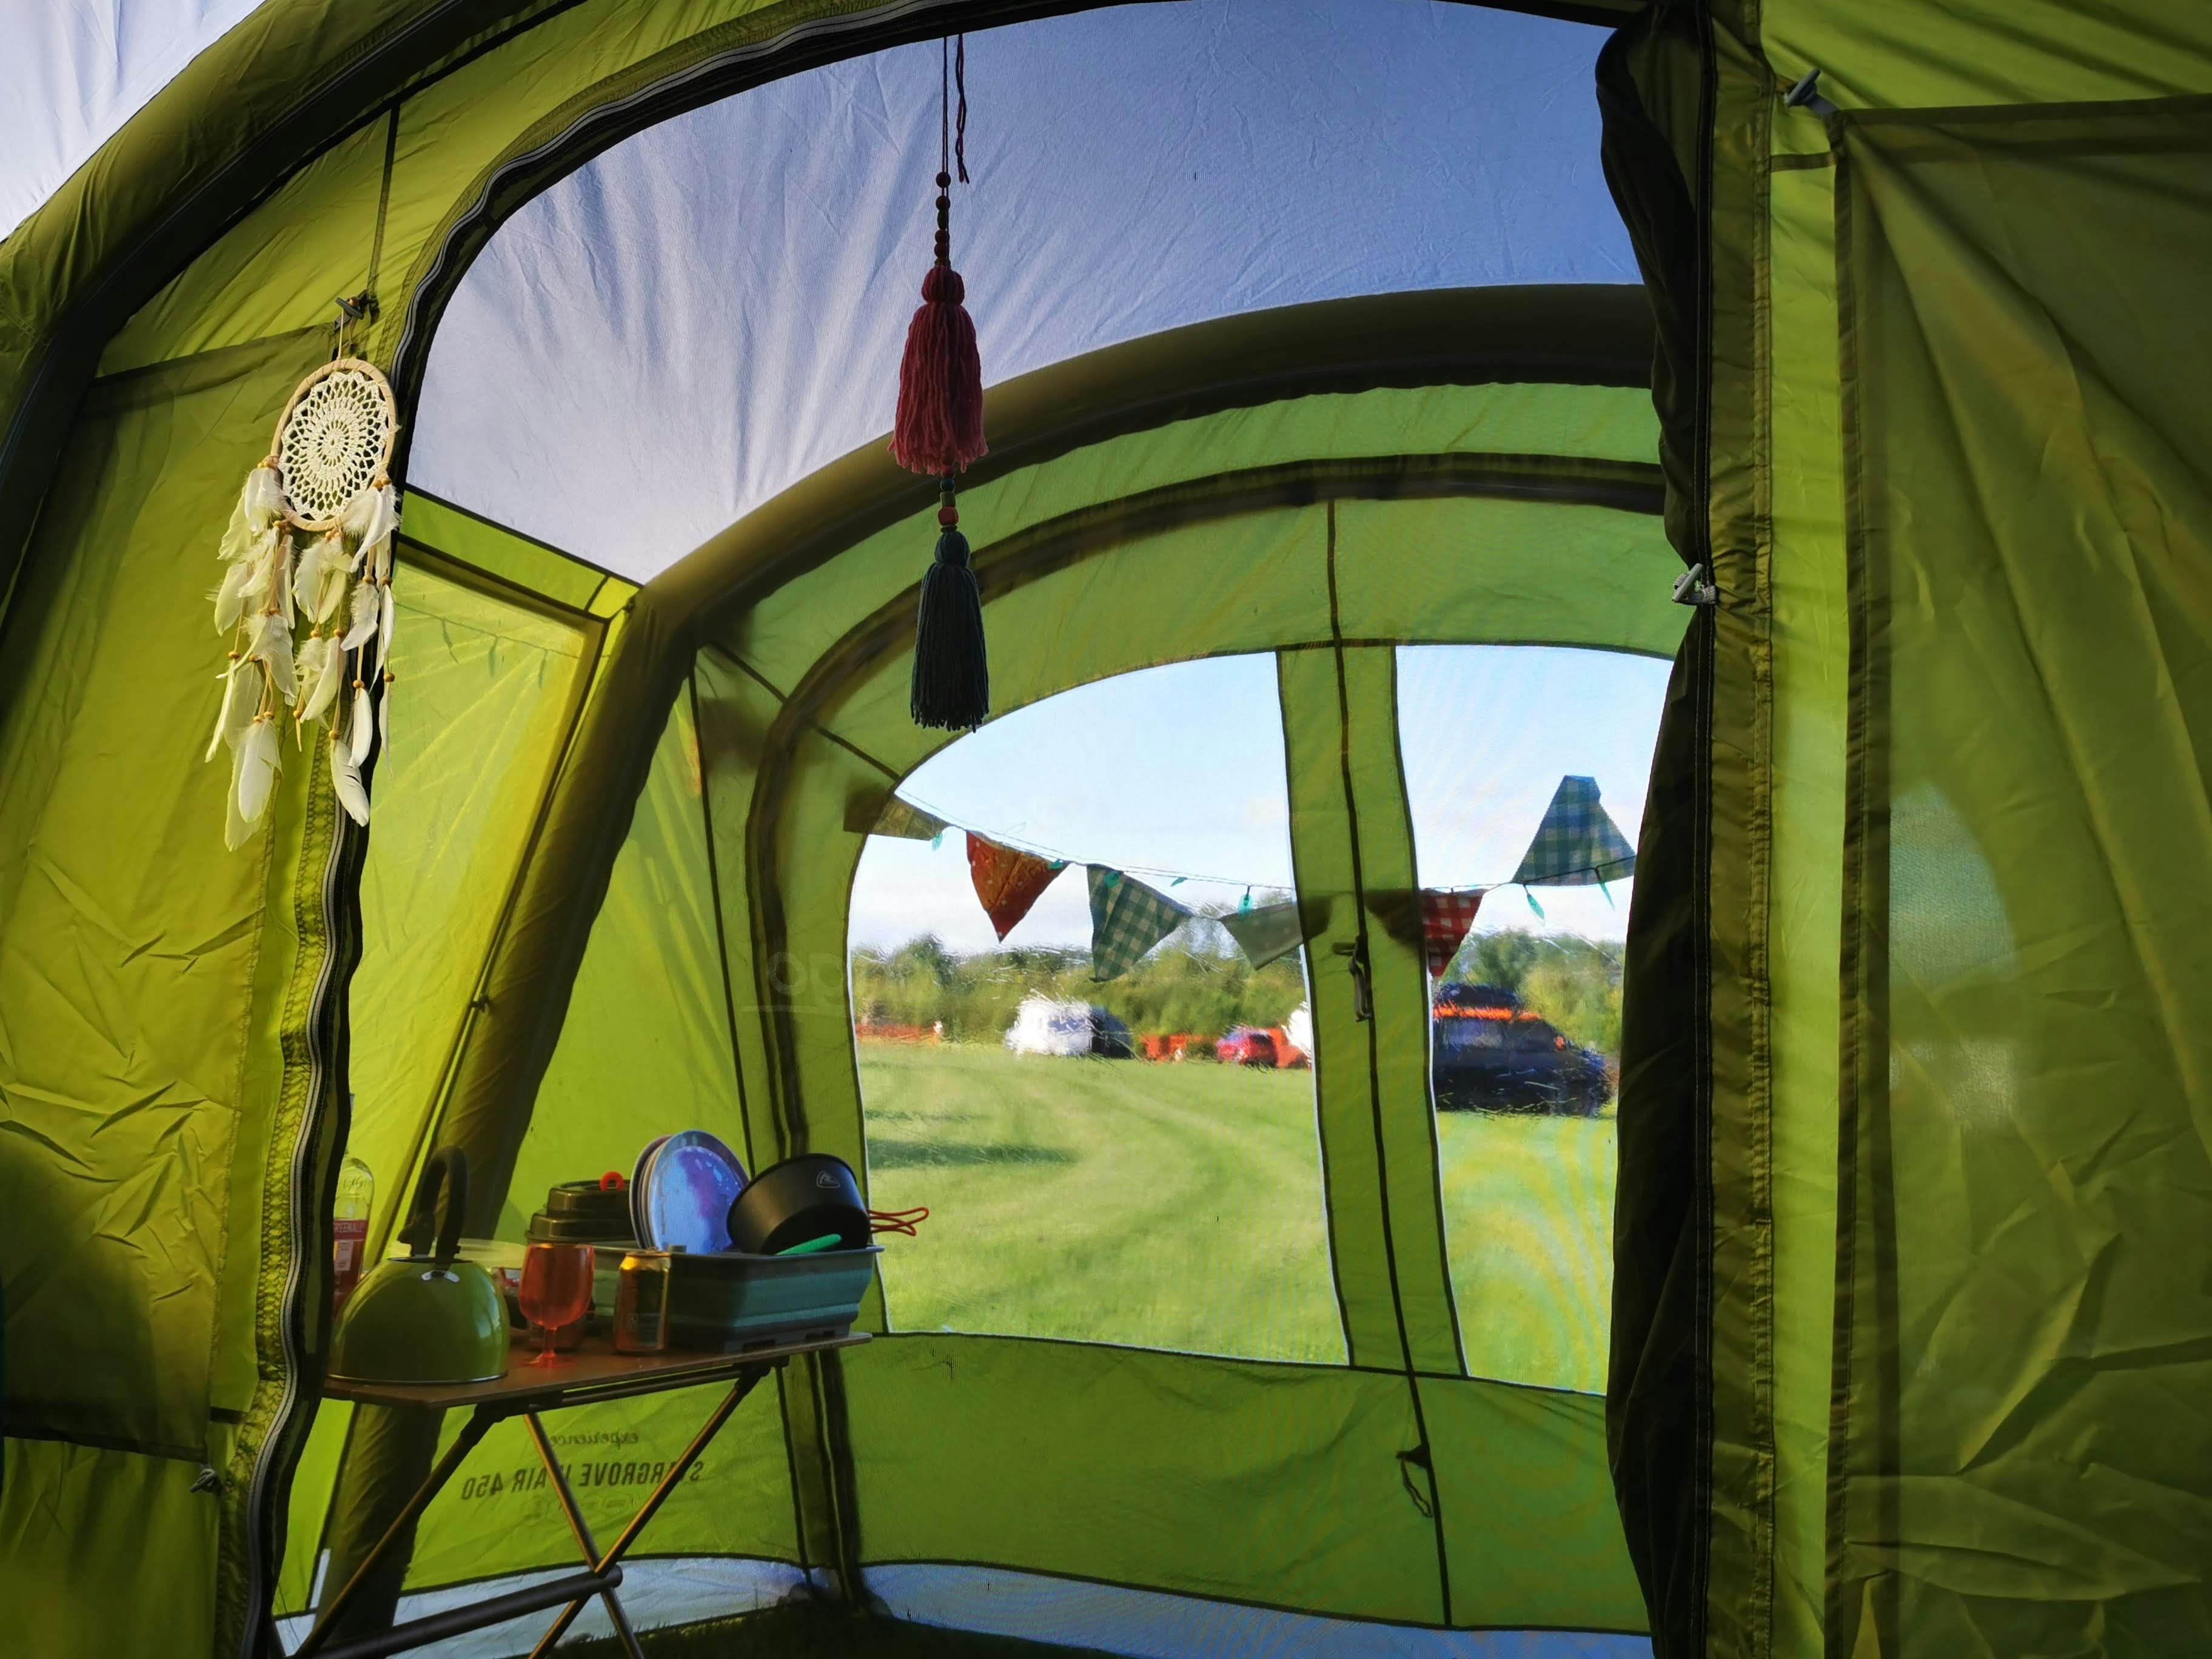
Your first night under a thin layer of nylon is equal parts simple and humbling. This guide covers the gear, planning, setup, and safety basics that make a first trip go smoothly and actually enjoyable.
How to Nail Tent Camping for Beginners
- Start close to home, at a developed site. Book a reserved campsite within two hours of home, in mild weather, late spring through early fall. Leave dispersed camping and backpacking for trip five, not trip one.
- Size up on your tent. A “2-person” tent fits two people shoulder-to-shoulder with no gear. Always buy one size larger than your group: a 3-person tent for two, a 4-person for three.
- The sleep system matters most. A 20°F sleeping bag, a pad with R-value 2 or higher, a warm hat, and dry sleeping socks. Most bad first trips are really bad first nights.
- Pitch the tent first, fire last. Walk the site, pitch the tent, set up the sleep system, then kitchen, then fire. Order of operations matters when you’re tired.
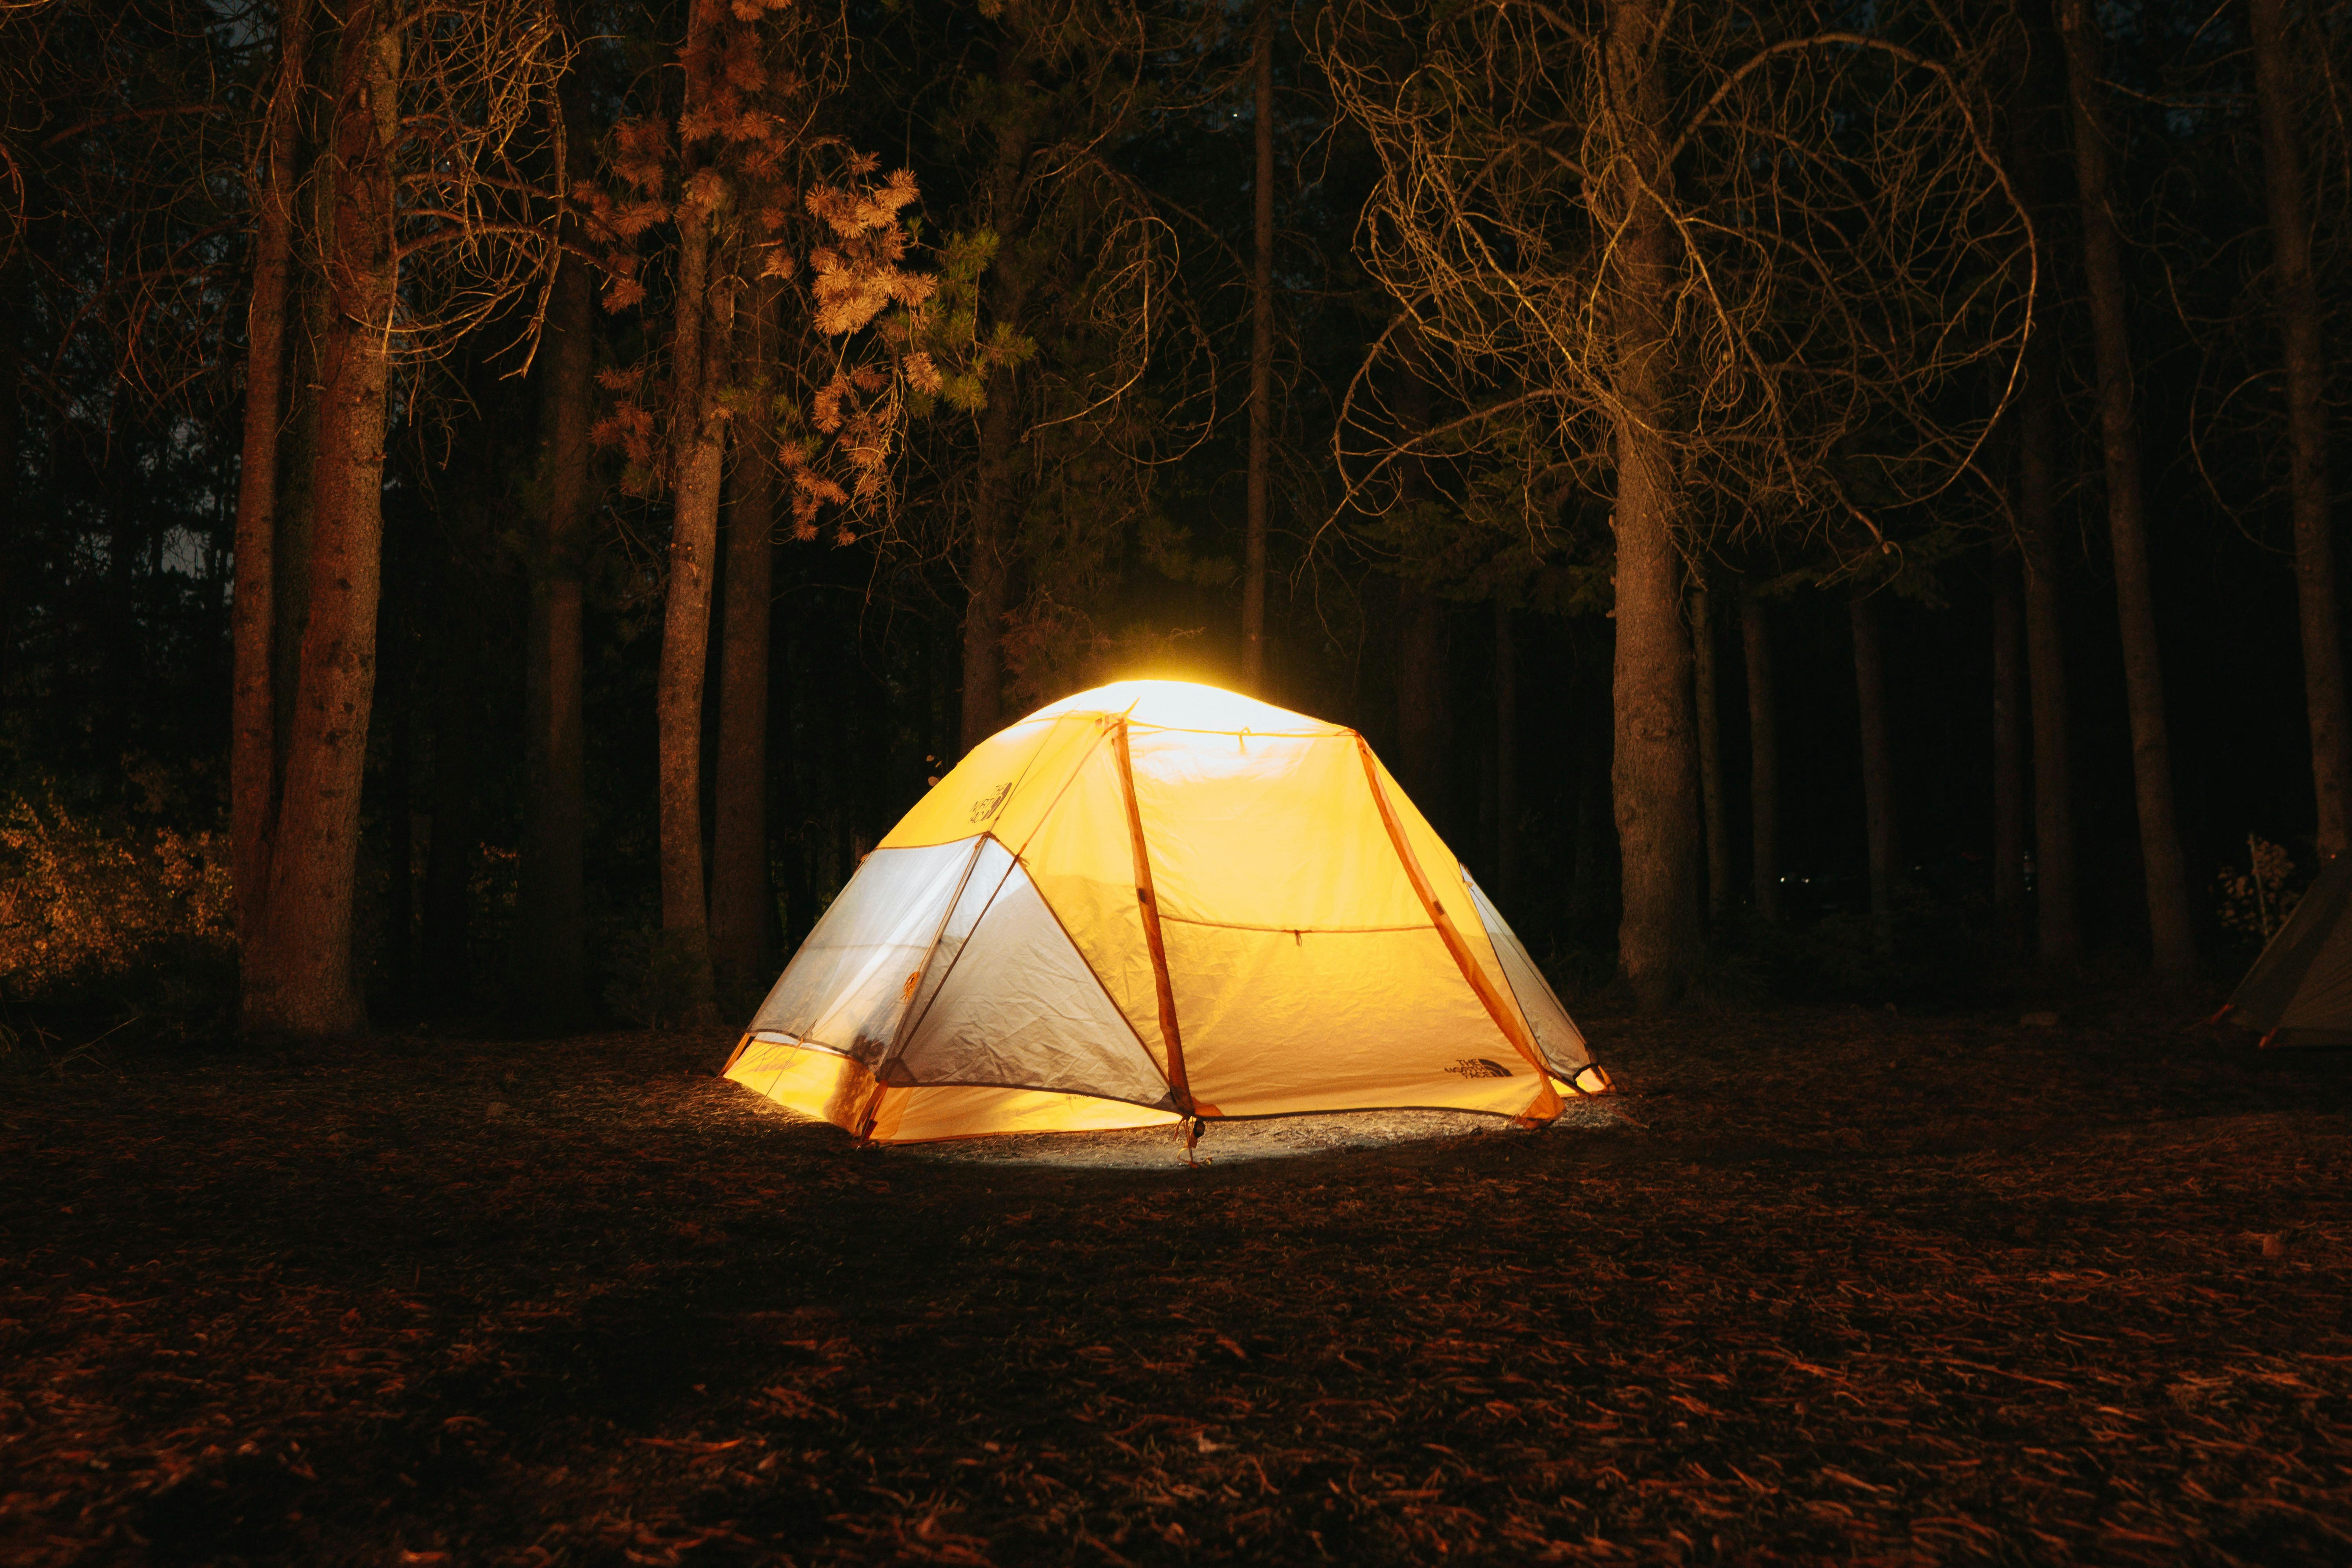
- Arrive with two hours of daylight. Setting up camp in the dark with cold hands is the single best way to decide you hate camping. Leave earlier than you think you need to.
Tent camping is the cheapest, most flexible way to spend a night outside, and it’s also the activity most likely to get abandoned halfway through if the first trip goes badly. In Tent Camping for Beginners, nearly every problem traces back to the same short list: the wrong sleeping bag, a campsite chosen in the dark, forgotten water, or a tent pitched on a slope. None of it is mysterious. None of it requires expensive gear.
This Tent Camping for Beginners guide walks through a first trip in the order you’ll actually experience it: deciding what kind of trip you’re signing up for, reserving a campsite, picking a tent and sleep system that won’t ruin the night, setting up camp, cooking, and handling fire and weather. If you want the compressed version (what to buy, what to pack, what to skip), jump straight to the gear checklist in section 5.
01 Start With the Right Expectations
“Tent camping” covers a big range: pulling up to a developed site with a picnic table and flush toilets is a different experience than hiking two miles to a lakeshore and pitching in the dirt. For Tent Camping for Beginners specifically, start with the easier version. You’ll be solving problems you haven’t thought of yet. That’s fine at a campground with a host and a bathroom, and miserable five miles from the trailhead.
A realistic Tent Camping for Beginners trip looks like this: one night, maybe two, at a reserved site in a developed campground within two hours of home, in mild weather, between late spring and early fall. Total cost, if you already have a tent and sleeping bag, is the site fee (often $20–$40) plus whatever groceries and fuel you’d buy anyway. Borrow the gear you don’t have. You’ll have better instincts about what to buy after one real night outside.
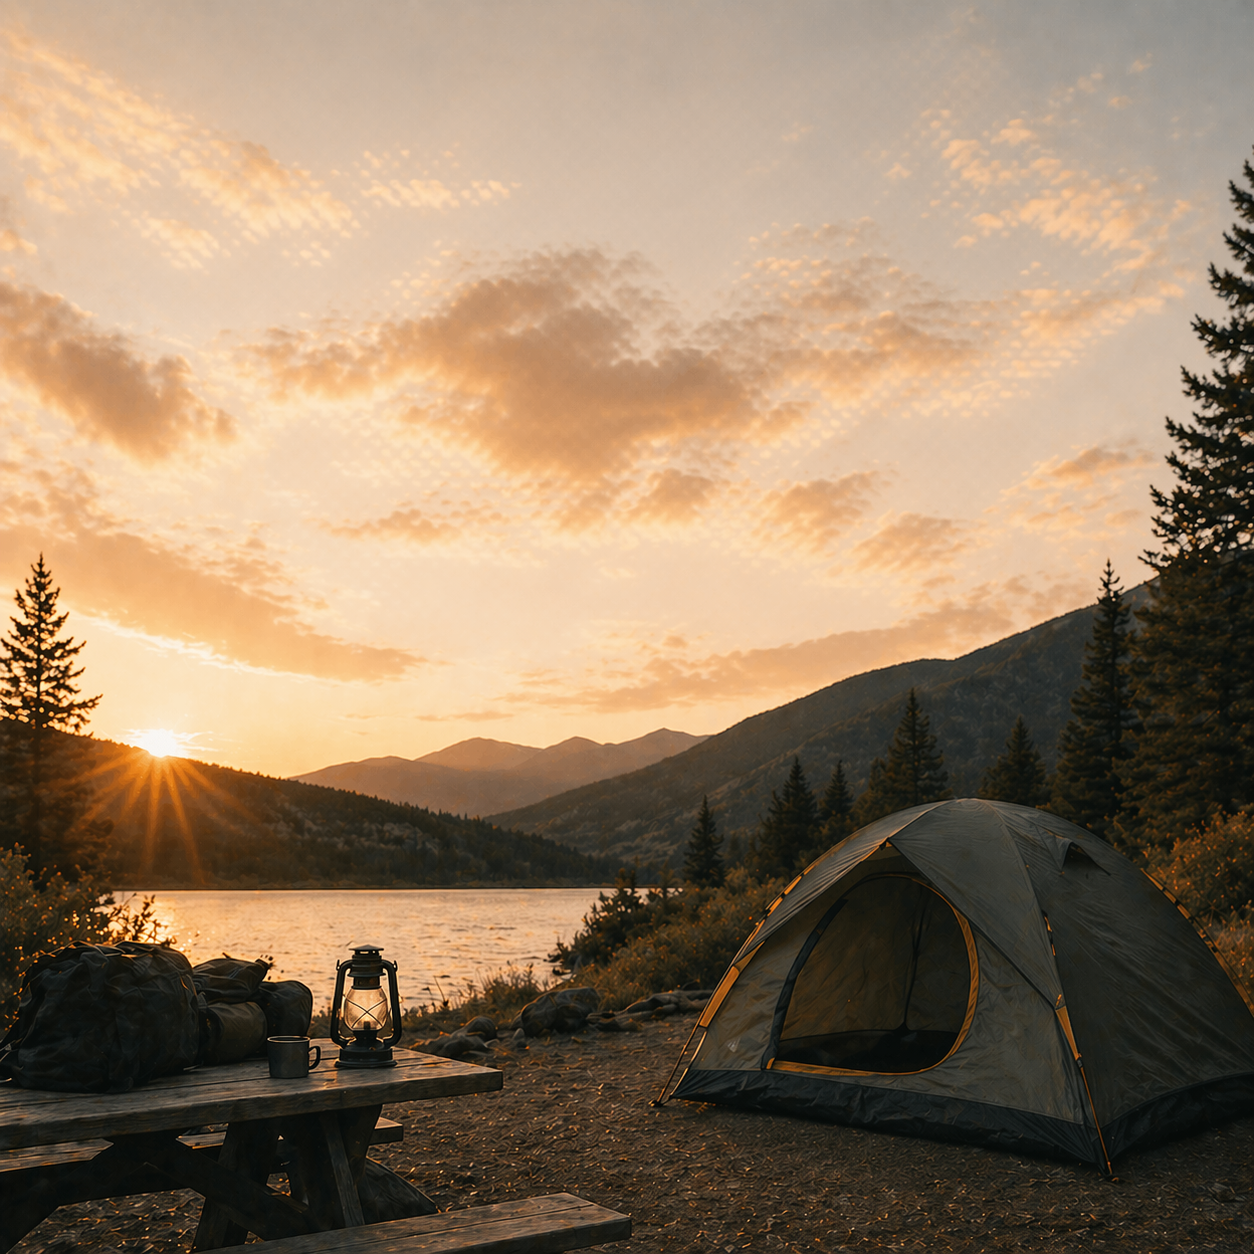
Arrive with at least two hours of daylight left. Setting up camp in the dark with tired kids or cold hands is the single best way to decide you hate camping.
Tent Camping for Beginners vs. the Alternatives
A quick vocabulary check so you know what you’re signing up for:
| Type | What it is | Good for beginners? |
|---|---|---|
| Car camping | Drive to a developed site, sleep in a tent next to your car. | Yes. Start here. |
| Dispersed camping | Free camping on public forest land, no facilities. | Not for trip one. Beautiful, but unforgiving. |
| Backpacking | Hike in, carry everything, sleep in a tent miles from the car. | No. Work up to this. |
| Glamping / cabins | Beds, walls, often electricity. | Different sport, not what this guide covers. |
02 Reserve Your First Campsite
For Tent Camping for Beginners, booking the right site early is one of the quiet decisions that makes or breaks a weekend. Popular campgrounds in Oregon and most of the West book up six months in advance for peak summer weekends. Midweek or shoulder-season (late May, September, early October) is easier to find, less crowded, and usually more pleasant anyway. The bugs are gone and the temperatures are friendly.
Where to Book
- Recreation.gov. Federal lands: National Forest, BLM, Army Corps, most of the good stuff. Releases six months out.
- Oregon State Parks (ReserveAmerica). State park campgrounds. Releases six months out at 8 a.m. Pacific on the rolling window.
- Hipcamp. Private land, often easier to book last-minute. Quality varies, read reviews.
What to Look for in a Specific Site
Inside a campground, sites aren’t equal. When a listing shows a photo and a map, skim for:
- Distance from the bathroom. You want close enough to walk at 3 a.m. but far enough to not hear the door slam all night. Fifty to a hundred yards is the sweet spot.
- A flat, reasonably level tent pad. Some sites are carved into slopes.
- Shade in summer, sun in shoulder season. A south-facing site in October is much warmer than one tucked in the trees.
- Not directly adjacent to the road or the loop entrance. Traffic noise carries.
For Oregon specifically, the full directory of the best camping spots in Oregon sorts by region so you can pick something close to home for a first trip. Beginners do well with Cascade-foothills state parks and Forest Service campgrounds on reservoir lakes. They’re developed, scenic, and hard to mess up.
03 Pick Your First Tent
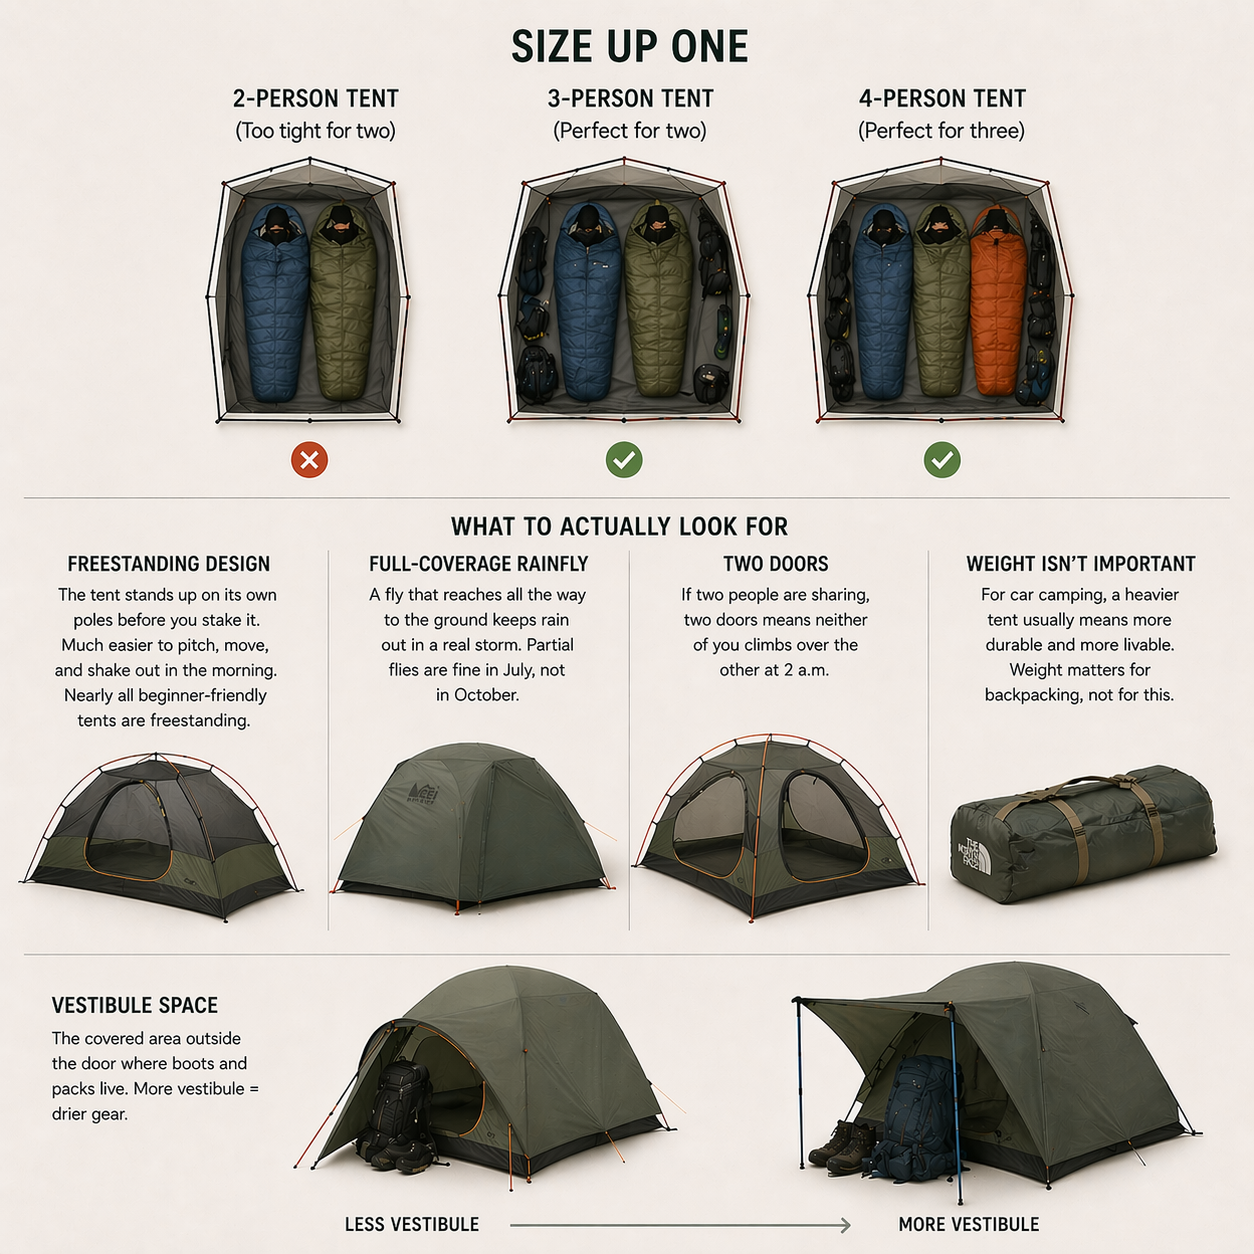
The single most useful thing to know about buying a tent: ignore the sleeping-capacity number on the box. A “2-person” tent fits two people shoulder-to-shoulder with no gear. A “4-person” tent is a comfortable tent for two adults. For Tent Camping for Beginners, always size up one: a 3-person tent for two, a 4-person for three, a 6-person for a family of four.
What to Actually Look For
- Freestanding design. The tent stands up on its own poles before you stake it. Much easier to pitch, move, and shake out in the morning. Nearly all beginner-friendly tents are freestanding.
- Full-coverage rainfly. A fly that reaches all the way to the ground keeps rain out in a real storm. Partial flies are fine in July, not in October.
- Two doors. If two people are sharing, two doors means neither of you climbs over the other at 2 a.m.
- Weight isn’t important. For car camping, a heavier tent usually means more durable and more livable. Weight matters for backpacking, not for this.
- Vestibule space. The covered area outside the door where boots and packs live. More vestibule = drier gear.
3-Season Is Enough
A “3-season” tent handles spring, summer, and fall, which is every condition you should be camping in as a beginner. 4-season tents are specialized for winter and snow; they cost more and are stuffier in summer. Skip them.
04 Build a Sleep System That Works
The most common place a Tent Camping for Beginners trip goes sideways is right here. A bad night of sleep (cold, lumpy, sliding off the pad) is what convinces people they don’t like camping. Good sleep is three pieces: a bag rated for the temperature, a pad with enough insulation, and a pillow of some kind. Not in that order of importance, surprisingly.
Sleeping Bag: the Temperature Rating Matters More Than the Price
Every sleeping bag is labeled with a temperature rating: the lowest temperature it’s designed to keep the average sleeper alive (sometimes called the “limit” rating) or comfortable (the “comfort” rating). Read the comfort rating, not the lowest number on the label. For most beginner trips in Oregon and the West, a 20°F bag is the sweet spot: fine for summer nights at elevation, warm enough for a cold snap, not so warm you overheat.
- Down fill is lighter, compresses smaller, and lasts longer, but is more expensive and useless if it gets wet.
- Synthetic fill is heavier, bulkier, and cheaper, but keeps insulating when damp. For car camping, synthetic is totally fine.
- Mummy shape is warmer. Rectangular is roomier. Semi-rectangular is the middle ground.
Sleeping Pad: Don’t Skip the R-Value
The pad isn’t mostly for softness. It’s for insulation from the ground, which pulls heat out of your body faster than the air does. Pads are rated by R-value (resistance to heat loss). For summer car camping, R-value 2+ is plenty. For shoulder-season or higher elevation, aim for R-value 4+. Closed-cell foam pads (the accordion-fold kind) are cheap, indestructible, and adequate for warm weather. Self-inflating pads are more comfortable and have better R-values.
Pillow: Anything Works
Bring a pillow from home. Inflatable camp pillows are fine but optional. A stuff sack full of clothes is free and works.
05 The Essential Gear Checklist
This is the short, opinionated version: what Tent Camping for Beginners actually requires for a first overnight in good weather. Skip anything not on this list for trip one; you can add complexity once you know what you’re missing.
| Category | Bring | Skip for now |
|---|---|---|
| Shelter | Tent, footprint or tarp, stakes, mallet or rock | Screen room, canopy, second tarp |
| Sleep | Sleeping bag, sleeping pad, pillow, liner (optional) | Cot, inflatable mattress, heated blanket |
| Kitchen | Stove, fuel, lighter, one pot, one pan, mugs, utensils, knife, cutting board, dish soap, sponge | Dutch oven, full knife roll, espresso setup |
| Water | Two 1-gal jugs per person per day, water bottles | Water filter (unless the site has no water source) |
| Light | Headlamp (one per person), lantern, extra batteries | String lights, candle lanterns |
| Clothing | Warm layer (fleece or puffy), rain jacket, warm hat, dry socks for sleeping, camp shoes | Anything cotton for the cold hours |
| Misc | First aid kit, duct tape, paracord, trash bags, sunscreen, bug spray, toilet paper, hand sanitizer | Hammock, camp chairs (optional, nice to have) |

06 Setting Up Camp, in Order
When you arrive, the order of operations matters more than the speed. For Tent Camping for Beginners, the shortcut that causes problems is pitching the tent last (in the dark, after you’re tired, with a headlamp) because you got distracted by the fire or dinner. Do this instead:
- Walk the site. Two minutes. Find the flattest, driest, most debris-free patch for the tent. Note where the picnic table is, where the fire ring is, which direction the wind is coming from.
- Pitch the tent first. Before unloading anything else, before starting a fire, before opening a beer. Door facing away from the wind.
- Set up the sleep system inside. Pad, bag, pillow, headlamp in reach. Now sleep is handled no matter what happens.
- Set up the kitchen. Stove on the picnic table, food in a tote or cooler, water accessible. Keep the kitchen at least 100 feet from the tent in bear country, or at the far end of the site otherwise. Cooking smells in your tent are a bad idea.
- Deal with light. Hang the lantern, put headlamps where you’ll find them. Do this while there’s still daylight.
- Fire last. Only after everything else is handled. Once the fire is going, you won’t want to do anything else.

Common First-Night Pitching Mistakes
- Not staking the rainfly tight. A loose fly flaps all night and lets rain touch the inner tent. Stake out every guy-out point.
- Sleeping downhill. You will slide off your pad all night. Orient the tent so your head is on the slightly higher end, or find a flatter spot.
- Pitching under a dead branch. “Widowmakers” fall without warning. Look up before you pick a spot.
- Sleeping in a dry creek bed. Flat, tempting, and dangerous if a storm hits upstream.
07 Cooking, Water, and Food Storage
Camp cooking is simpler than camp cooking content makes it look. For Tent Camping for Beginners, a one-burner stove, a single pot, and two meals that don’t require much is the whole operation.
Stove Basics
For car camping, a two-burner propane stove (the classic Coleman-style) is the easy answer. It runs on green 1-lb propane bottles, boils water in a few minutes, and doesn’t require any technique. A single-burner backpacking stove works fine too and packs smaller. Whatever you use, bring a backup lighter and one more fuel canister than you think you need.
First-Trip Meals That Work
- Dinner: Pasta with jarred sauce. Boil water, pour in pasta, drain, stir in sauce. Twelve minutes.
- Breakfast: Instant oatmeal and coffee. Boil water, pour it in things. No cleanup.
- Lunch: Sandwiches, cheese, crackers, fruit. Don’t cook.
- Snacks: More than you think. Trail mix, bars, jerky, chocolate. The cold burns calories faster.
Water
Most developed campgrounds have potable water at a spigot; confirm before you leave. If they don’t, or if you’re not sure, bring about one gallon per person per day for drinking and cooking, plus extra for dishes. Two gallons per person for a two-day trip is a safe number.
Food Storage
Store food so it doesn’t attract animals. In bear country (most of Oregon’s forests), this means a bear-resistant cooler, a locked car, or a provided bear box. Never in the tent. Never. Rodents are more common than bears and will chew through a pack for trail mix. Keep food in a hard-sided container overnight and when you’re away from camp.
Cleanup
Wash dishes at camp, not at the communal spigot. Use a plastic tub, heat water on the stove, scrape food scraps into a trash bag, then strain the dishwater through a coffee filter or fine strainer before scattering it at least 200 feet from water sources and camp. Pack out the food scraps. Leaving “biodegradable” food scraps on the ground teaches wildlife that campsites are buffets.
08 Fire, Weather, and Leave No Trace
Campfires
Check fire restrictions before you leave. Oregon and much of the West shuts down fires entirely during high fire danger, usually late July through September. The Oregon Department of Forestry posts current restrictions by region. Even when fires are allowed, build them only in an existing fire ring, keep them small (a fire big enough for warmth, not a bonfire), and never leave them unattended.
To extinguish a fire correctly: drown it with water until the hissing stops, stir the ashes, drown it again, and hold the back of your hand above the ashes. If you can feel heat, it’s not out. Do this every time, including the morning you leave.
Weather
A forecast that shows a 30% chance of rain means you should plan for rain. Check the forecast the morning you leave; mountain weather changes fast. Pack a rain jacket even if the forecast is clear. The most common Tent Camping for Beginners weather mistake is dressing for the afternoon temperature and getting surprised by how cold the night gets at elevation; it can drop 30°F from 3 p.m. to 3 a.m.
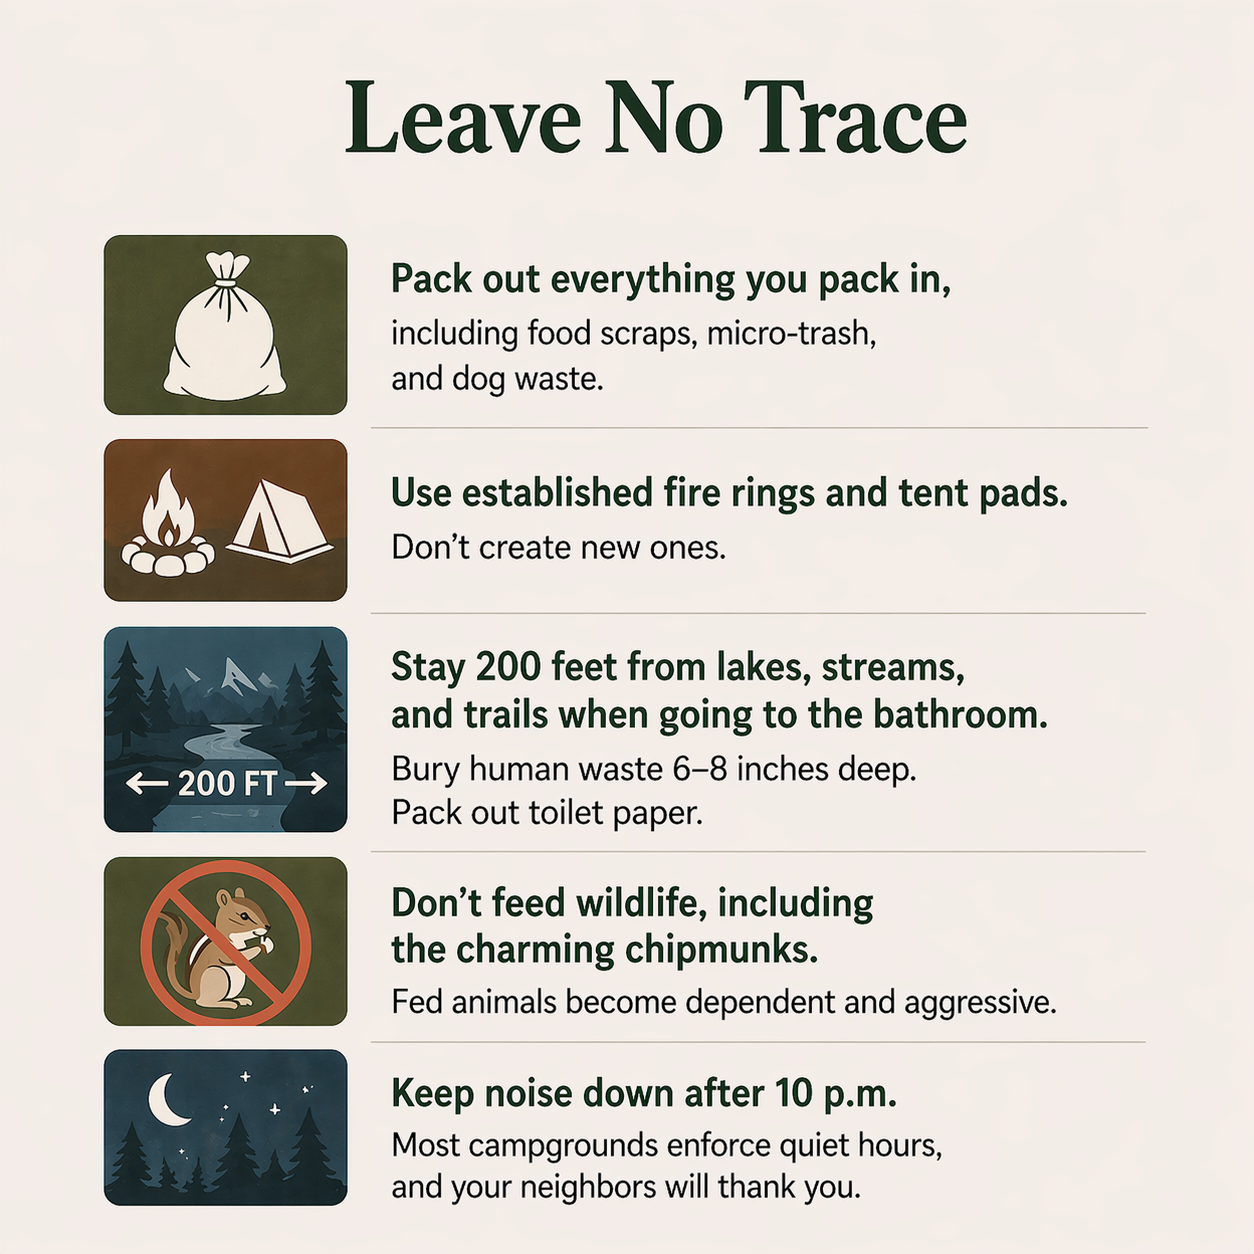
Leave No Trace, the Short Version
- Pack out everything you pack in, including food scraps, micro-trash, and dog waste.
- Use established fire rings and tent pads. Don’t create new ones.
- Stay 200 feet from lakes, streams, and trails when going to the bathroom. Bury human waste 6–8 inches deep. Pack out toilet paper.
- Don’t feed wildlife, including the charming chipmunks. Fed animals become dependent and aggressive.
- Keep noise down after 10 p.m. Most campgrounds enforce quiet hours, and your neighbors will thank you.
Tent Camping for Beginners FAQ
Short answers to the questions first-timers ask most often about Tent Camping for Beginners. If something’s not covered here, the section above it probably answers it.
How much does it cost to get started with tent camping?
If you’re starting from zero, a workable beginner kit (tent, two sleeping bags, two pads, a stove, basic kitchen gear, headlamps) costs about $400–$600 bought new, or closer to $150–$250 if you buy used or borrow. The single biggest line item is usually the tent. Campground fees are separate: $20–$40 a night at most state park and Forest Service sites.
The cheapest way to try tent camping is to borrow the big-ticket items (tent, bags, pads) for the first trip and buy nothing until you’ve been out once.
Is tent camping safe?
Yes. Developed campgrounds are one of the safer places you can spend a night. There’s a camp host, neighbors within earshot, and the things that actually cause problems (bad weather, fire, getting lost) are easy to avoid with basic preparation. Wildlife encounters are rare in developed campgrounds and almost always the result of food stored badly.
The real risks are more mundane: hypothermia from being underdressed for a cold night, burns from stoves and fires, and dehydration. All three are straightforward to avoid.
What should I do if it rains?
If you’ve pitched a freestanding tent with a full rainfly, staked it tight, and dug a small drainage trench uphill of the tent if the ground isn’t sloping away, you’re fine. Get inside the tent, read a book, make hot coffee on the stove under a picnic table or tarp. Rain makes a camping trip, not breaks it, as long as you’re dry.
If the rainfly starts leaking, it’s almost always because something inside the tent is touching the tent wall, wicking water through. Move your stuff to the center and wait it out.
Do I need a reservation, or can I just show up?
Between Memorial Day and Labor Day, and on most shoulder-season weekends, plan on a reservation. Popular campgrounds in Oregon book out months in advance for summer weekends. Some campgrounds hold a portion of sites for first-come, first-served, but arriving on a Friday afternoon hoping for a FCFS site is a gamble.
For a guaranteed first trip, book at least two weeks out, midweek if possible. Weeknight availability in June and September is usually wide open.
Can I tent camp with a dog?
Most developed campgrounds allow dogs on a six-foot leash at all times. A few campgrounds (especially some state parks with wildlife concerns) have restrictions. Check the site page before booking. Inside the tent, most dogs settle in fine with a blanket or their own bed. The main things to pack: a long tie-out leash for the site, extra water, a towel for muddy paws, and poop bags.
What’s the difference between tent camping and backpacking?
Tent camping generally means car camping: driving to a developed site and sleeping in a tent next to your car, with all the gear you want to bring. Backpacking means carrying everything on your back and hiking in to a site that’s miles from the trailhead, with no facilities. The gear is different (lighter, smaller, more expensive for backpacking), the skills are different (route-finding, water treatment, bear hangs), and the margin for error is narrower. Start with tent camping. Work up to backpacking once the fundamentals feel boring.
Do I need a water filter at a developed campground?
Not usually. Most developed campgrounds have potable water at a spigot; check the campground’s page before you leave. If there’s no potable water (common at more primitive sites), either bring all the water you need (one gallon per person per day, minimum) or bring a filter rated for backcountry use and draw from the nearest stream. For a first trip, bring the water.
Oregon Tails earns affiliate commissions from some gear links in this guide. No brand pays for placement, and every recommendation is based on independent testing.