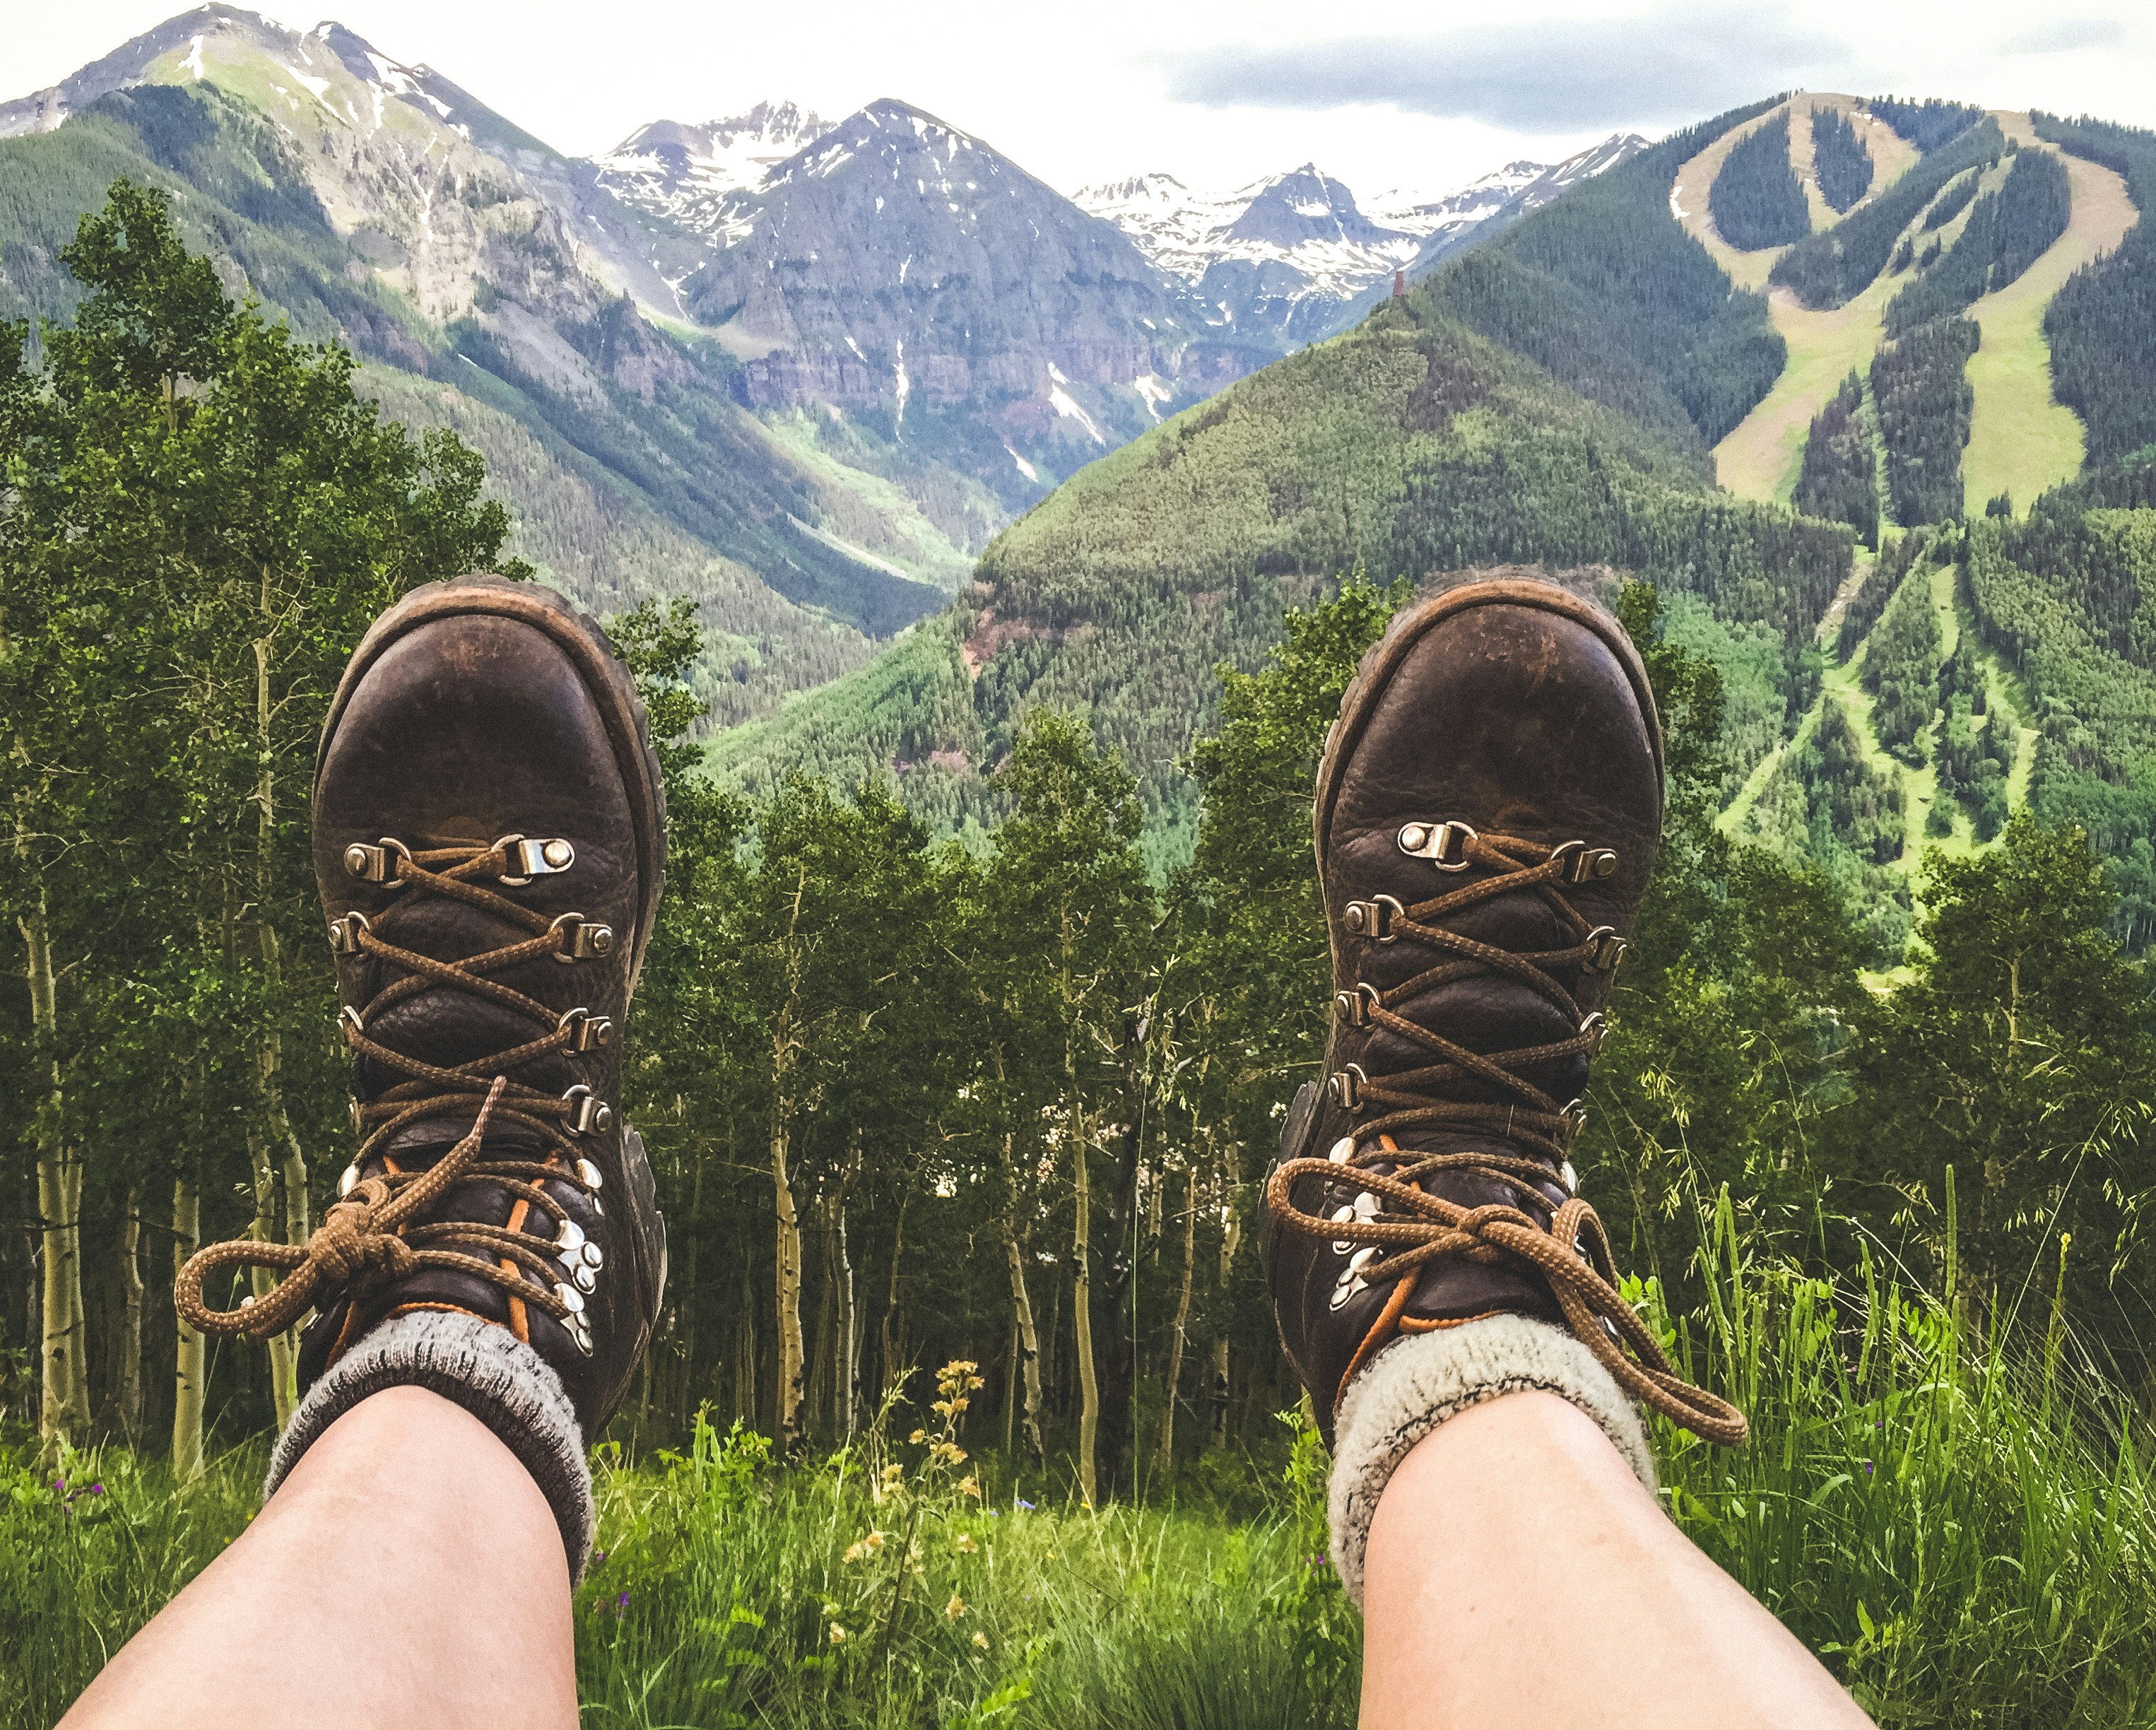
Hiking field guide
How Should Hiking Boots Fit?
A hiking boot is a load-bearing piece of equipment. The heel lock, the toe room, and the shape of the last against your foot are the difference between a pair you forget about for 500 miles and a pair you walk out of on mile three.
Hiking boots should fit snug everywhere but tight nowhere, with about half an inch of room in front of your longest toe and your heel locked in place when laced. That simple test rules out most ill-fitting boots in under a minute, before you spend a hundred and fifty dollars and find out at mile three.
This guide is the fit protocol I run before I buy any new pair, built from a decade of boots returned within a week and boots I wore into the ground over five hundred miles. It covers the five rules that actually matter, the six-step in-store test, common fit problems with fixes, and a calculator that converts foot measurements into approximate US, UK, and EU sizes. For the bigger buying decision around terrain, boot class, and materials, see our complete hiking boot buying guide.
1. The Five Rules of Fit
A well-fitting hiking boot does five things at once. Get any one of these wrong and the boot will hurt you within ten miles. Get them all right and you can forget about your feet and just hike.
Rule 1 · Your heel stays locked
With the boot fully laced, lift your heel straight up as if starting a stride. It should move less than a quarter inch. Heel lift is the single most common cause of blisters on the back of the heel and behind the Achilles. A boot that slips here will punish you on every descent and long flat, not just on climbs.
Rule 2 · Your longest toe has room
Push your foot forward in the boot until your toes touch the front. There should be about a finger-width of space behind your heel. That space becomes your toe room once the boot is laced. If there is no space, the boot is too short. On downhill sections your foot slides forward and your toes take the impact. That is where you get the classic purple toenail and the blister under the nail.
Rule 3 · Your midfoot is snug without pinching
The boot should hold the middle of your foot firmly. You should not be able to slide your foot side-to-side when laced. But there should be no pressure point on either side of the foot, especially across the ball. Pinch usually means the last (the shape the boot is built around) is wrong for your foot. A different brand will fix it faster than a different size.
Rule 4 · The boot flexes at the ball of your foot
Rock up onto your toes, or bend your knee forward over the boot. The boot should crease at the joint where your toes meet your foot, not back at the arch. A boot that flexes in the wrong place will fatigue the arch, strain your plantar, and make long days miserable.
Rule 5 · It passes the downhill test
Find a ramp, a hill, or the sloped test platform most good outdoor stores have built into the floor. Walk down it. If your toes hit the front on the descent, the boot is a half size too small, no matter how it felt on flat ground. A boot that passes flat but fails downhill is the single biggest reason people come home with too-small boots.
Snug or tight? The difference that matters
People use these two words interchangeably and it costs them money. A snug boot holds your foot with even, distributed contact everywhere (heel, midfoot, instep, sides of the forefoot) without any one spot digging in. Snug fades from your attention after a few minutes of walking. A tight boot has a specific, local pressure point: one hot band across the top, a pinch on a pinky toe, a ridge on the arch. Tight does not fade. It gets worse. If you can feel a specific place on your foot pressing against the boot when you stand still, that spot will not break in. Return the pair.

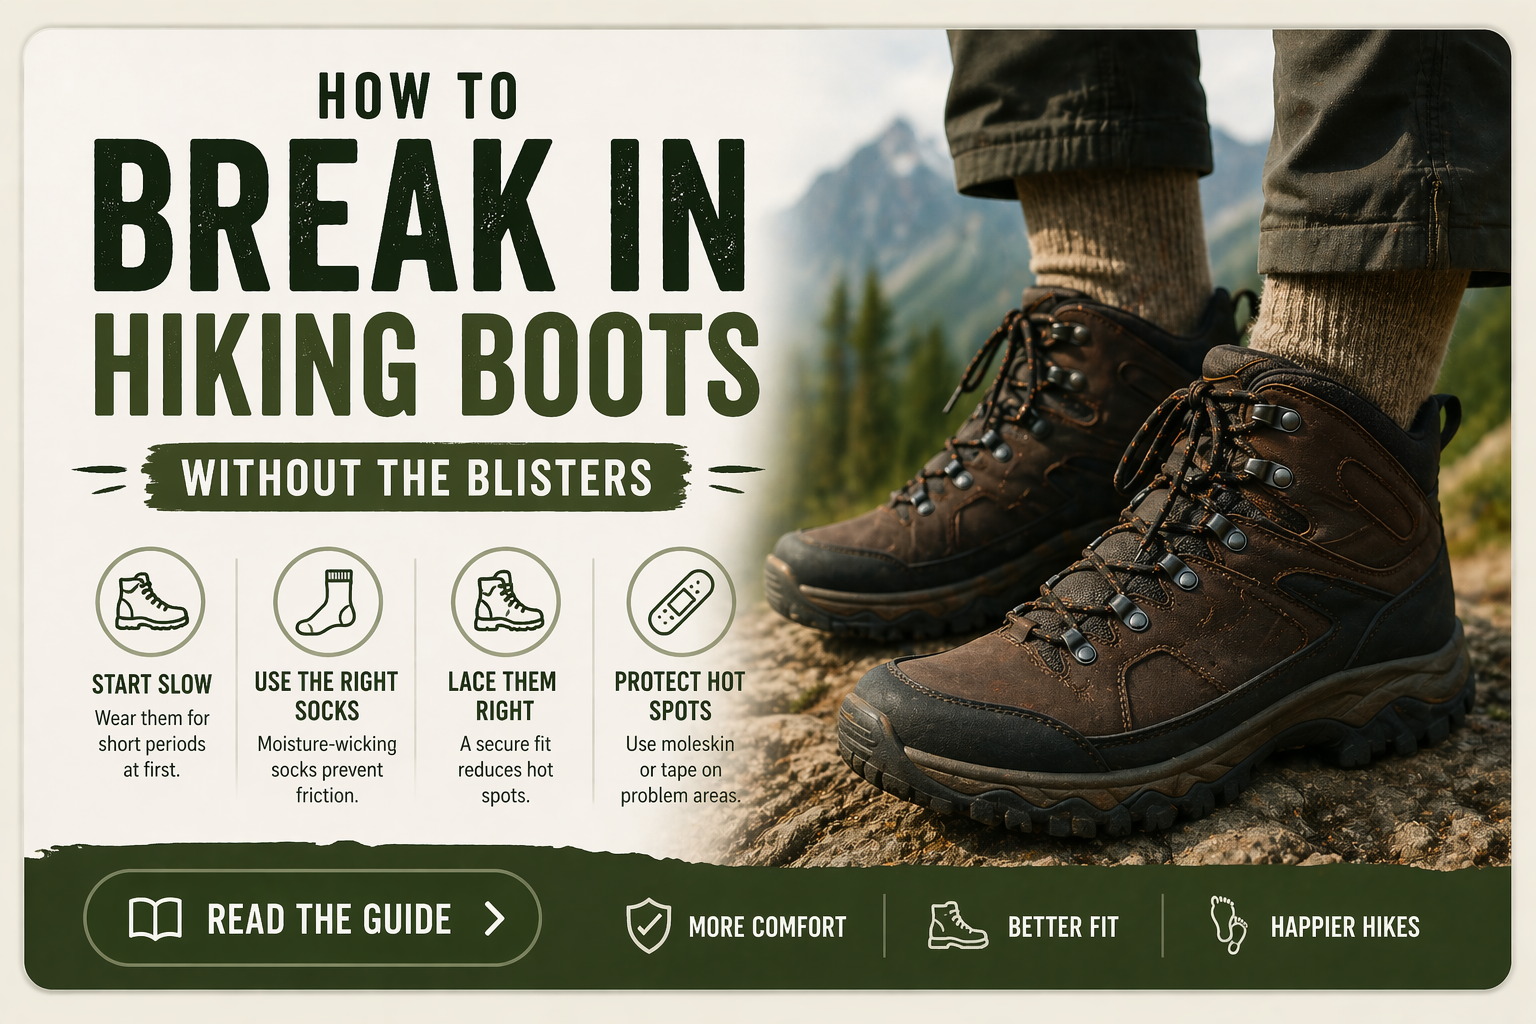
2. The In-Store Fit Test
When you try boots on in a store, the salesperson often rushes you. These are the six tests I run, in order, before committing. Each one takes about thirty seconds. The whole check is under five minutes and catches almost every fit problem before you pay.
- Finger behind the heel. Unlaced, slide your foot forward until your toes touch the front. You should be able to fit exactly one finger between your heel and the back of the boot. More than one finger, size down. No finger, size up.
- Toe tap. Lace the boot fully. Kick the toe box against the floor or a wall, firmly, like kicking a ball. Your toes should not slam into the front. If they do, the boot is at least a half size too small.
- Heel lift. Laced and standing, lift your heel straight up as if starting a step. Heel movement should be less than a quarter inch. More than that and you will blister on every descent, guaranteed.
- Midfoot squeeze. Press the sides of the boot together across the ball of your foot. You should feel a snug hold without any pressure points. Pinch across the metatarsals is a dealbreaker; it will not break in.
- Flex point. Rock up onto the balls of your feet. The boot should crease at the ball of the foot, not back in the arch. A boot that flexes in the wrong place will hurt your plantar fascia on long days.
- Downhill ramp. Every good outdoor store has a ramp. Walk down it, slowly. If your toes touch the front going down, the boot is a half size too small, no exceptions. This is the test most people skip and the one that catches the most mistakes.
Wear the boot around the store for at least ten minutes. Pressure points that are invisible in the first minute often show up by minute eight. If you notice yourself thinking about your feet at all after ten minutes, the fit is wrong.
3. Should Hiking Boots Be a Size Bigger?
Short answer: usually yes. Most people wear hiking boots a half size to a full size larger than their street shoes, for three reasons.
- Feet swell on trail. Through a long day of hiking, your feet swell up to 8 percent larger than they were at breakfast. Street shoes do not account for this because you are not walking twelve miles in them.
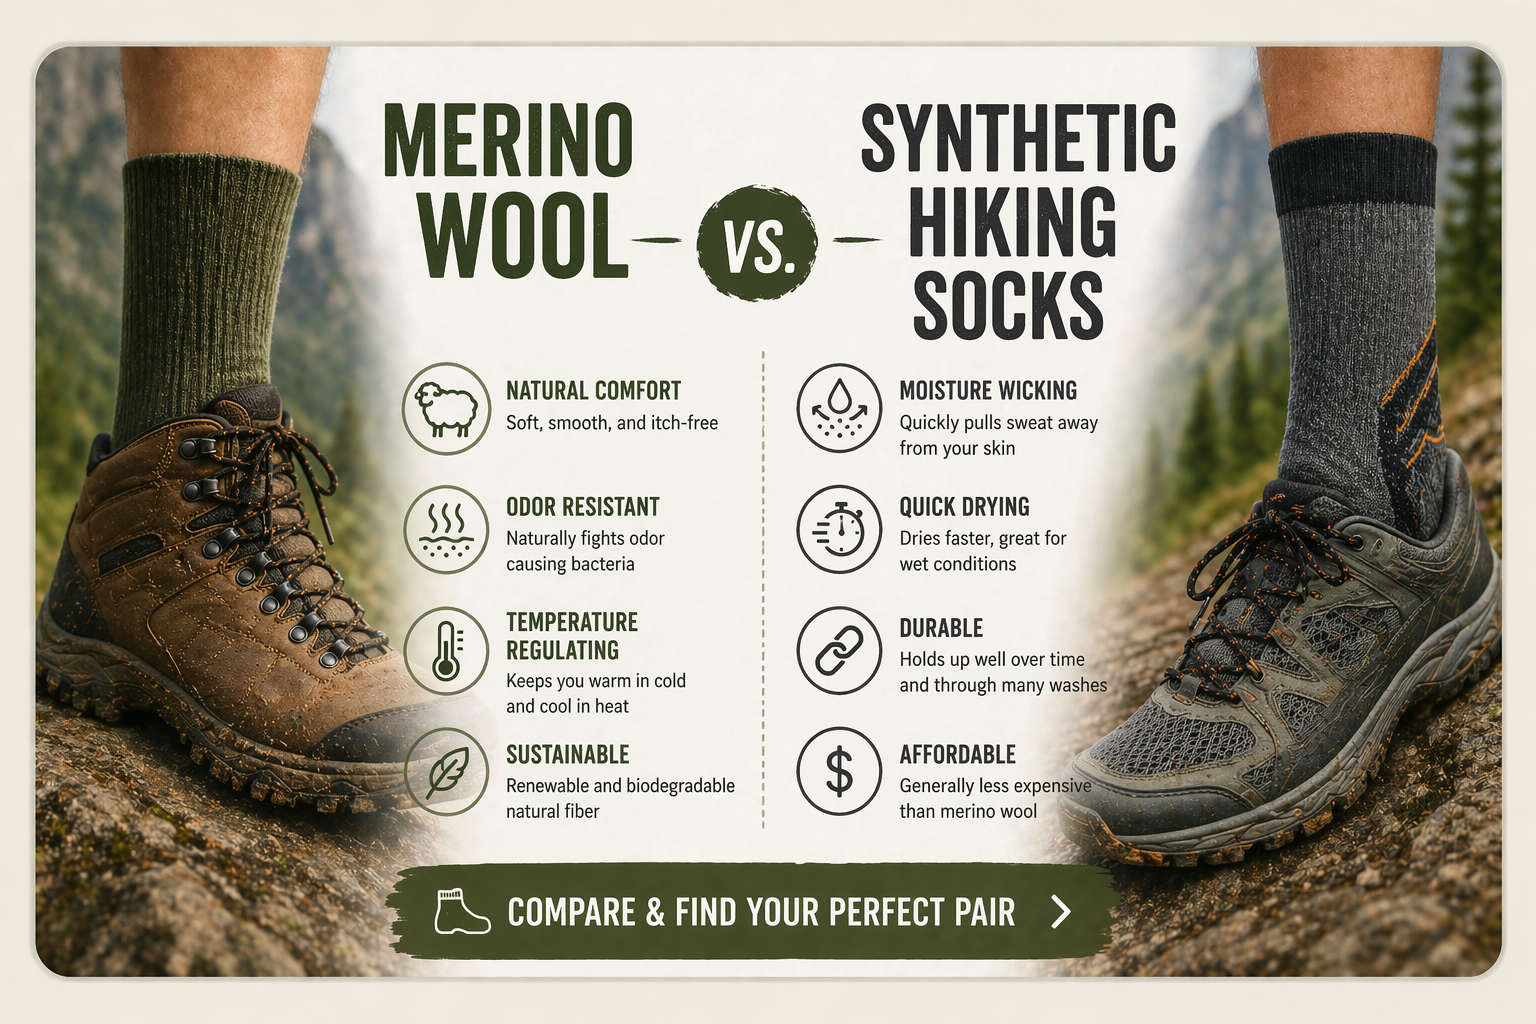
- Socks take up space. A proper hiking sock is thicker than a dress sock. A midweight merino adds roughly half a size of effective foot length. If you tried hiking boots in dress socks, they would feel right in the store and murder your toes on trail.
- You need downhill room. On descents, your foot slides forward about a centimetre inside the boot. Without toe room, that slide crushes your toenails and eventually lifts them off. Building in half an inch of toe room is non-negotiable.
How much bigger depends on the brand and how your street shoes currently fit. Someone who wears their street shoes on the snug side will go up a full size in hiking boots. Someone who wears street shoes with room already can often get away with a half size. Always measure your foot length and add the half inch of toe room. That is the size you want in a boot, regardless of what your sneakers say.
A boot that is comfortable right out of the box at your street shoe size is usually a boot that will blister you at mile ten. Boots that feel slightly roomy in the store with thinner-than-hike socks often fit perfectly on trail.
4. Common Fit Problems and How to Fix Them
Most fit problems on trail come from a handful of familiar causes. Before you return a pair, try the fix for your specific problem. Many issues are a lacing technique or a sock change away from solved.

Likely cause: Loose ankle lock, or the boot last is too wide at the heel.
Fix: Try a runner’s loop (heel lock) lacing technique: skip the top eyelet, then feed the laces back through the loop you just created. This pulls the ankle collar down tight. If that does not solve it, the boot shape is wrong for your heel.

Likely cause: The boot is half a size too small, or you did not leave enough toe room when fitting.
Fix: Size up by a half. Try thinner socks first if you are already at the biggest size you can tolerate. On trail, tighten laces firmly across the top of the foot before long descents to slow the forward slide.

Likely cause: The last (boot shape) is too narrow for your foot.
Fix: Check if the boot comes in a wide width (often marked 2E or W). If not, a different brand with a wider last is your answer. Merrell and Keen tend to run wider; Salomon and La Sportiva run narrower.

Likely cause: Laces are too tight across the top of the foot, or the toe box is too shallow.
Fix: Loosen the top two eyelets. Keep the midfoot laces snug but the top of the foot should be firm, not crushing. If loosening does not fix it, the toe box is probably too low-volume and you need a different last.

Likely cause: The stock insole does not match your arch, or the boot flexes in the wrong place.
Fix: Swap the stock insole for an aftermarket insole matched to your arch height. This fixes more fit problems than any other single change.

Likely cause: High instep or high-volume foot in a low-volume boot.
Fix: Re-lace using a window pattern: skip an eyelet over the pressure point to open up space. If that does not resolve it, look for boots marketed as high-volume or high-instep friendly.
5. How to Measure Your Feet at Home
Most people never measure their feet after childhood. Foot length shifts over a lifetime, and the size printed on your last pair of street shoes is almost never the size you should wear in a hiking boot. Here is the five-step method I run every time before I order a new pair online.
The five-step measurement
- Time it right. Measure at the end of the day. Feet swell through the day by up to 8 percent. A morning measurement will lie to you and you will buy boots that feel great in the shop and crush your toes by mile four.
- Wear your hike sock. The sock you actually hike in. Sock thickness can change effective foot length by as much as half a size. A thin liner gives you room a midweight merino does not.
- Trace with heel to wall. Stand on a piece of paper with your heel pressed against a wall. Keep weight on the foot. Have someone trace the outline with a pen held vertical. Tilted pens lie.
- Measure length and width. Length is the distance from the back of the heel to the tip of the longest toe. Width is the widest point across the ball of the foot. Measure both feet. Most people have a longer side. Always size to the longer foot.
- Add half an inch. On the trail, your foot slides forward with every downhill step. Leave 1.25 cm (about half an inch) of room ahead of your longest toe to absorb that slide. This is the measurement you actually shop to, not the raw foot length.
Measure both feet. About 60 percent of people have one foot that is 3 to 6 mm longer than the other. Size to the larger foot. The smaller foot will live with a little extra room; the bigger foot will blister if it does not have its own space.

6. Find Your Size · Interactive Calculator
Drag the sliders to match your measured length, width, and sock thickness. The calculator converts your foot measurements into approximate US, UK, and EU sizes and a width class. Toggle between men’s and women’s sizing. Treat the output as a starting point, not gospel. Brands vary by up to half a size, so always try before a big trip.
Boot & Fit Gear Picks
Once you know how a boot should fit, these are the picks I’d point you at.


Related Hiking Guides


Hiking Boot Fit FAQs
Should hiking boots be a size bigger than your street shoes?
Usually yes. Most people wear hiking boots a half size to a full size larger than their street shoes. Feet swell on trail, hiking socks take up more room than dress socks, and you need about half an inch of toe room to keep your toes from slamming into the front on descents. Always measure your foot length and shop to the measurement, not to whatever is printed inside your sneakers.
How much toe room should hiking boots have?
About half an inch (1.25 cm) of space between the tip of your longest toe and the front of the boot, with the boot fully laced. A quick check: slide your foot forward until your toes touch the front, and you should be able to fit one finger behind your heel. Less than that and you will bruise your toes on downhill sections; a lot more than that and your foot will slide around inside the boot.
How do I measure my feet for hiking boots?
Five steps. Measure at the end of the day (feet swell up to 8 percent). Wear the sock you actually hike in. Stand on a piece of paper with your heel pressed against a wall. Trace around your foot with the pen held vertical. Measure the longest length and the widest width, then add about half an inch of toe room. Use the larger foot if your feet are different sizes. Our interactive sizing calculator will convert those measurements into approximate US, UK, and EU sizes.
How should hiking boots feel at the heel?
Locked in place. With the boot fully laced, your heel should lift less than a quarter inch when you walk or simulate a stride. Heel slip is the single biggest cause of blisters on the back of the heel, and it does not break in. A loose heel will stay loose. If the boot you otherwise love has heel lift, try a runner’s loop lacing technique before you give up on it.
Can hiking boots be too big?
Yes, and oversized boots are almost as bad as undersized ones. If you can fit two fingers behind your heel, the boot is too big. A boot that is too big lets your foot slide inside, which causes hot spots, blisters under the ball of the foot, and toe-box impact on downhills even though there is plenty of room. Snug in the heel and midfoot, generous only in the toe box, is the target.
What do I do if my hiking boots pinch on the sides?
Side pinch is almost always a last problem. The shape of the boot is wrong for your foot. Stretching rarely fixes it in a meaningful way, especially with synthetic uppers. The fastest solution is to try a different brand; some brands (Merrell, Keen) build on wider lasts, while others (Salomon, La Sportiva) build narrower. If you have always had trouble with width, look specifically for boots offered in a wide (2E) version.
Is it normal for hiking boots to feel tight at first?
A brand-new boot should feel firm, not tight. Firm means snug hold everywhere with no pressure points. Tight means you can feel a specific spot digging in: the top of the foot, a side, a toe. Firm boots soften and mold to your foot over twenty to thirty miles. Tight boots usually stay tight in that specific spot because the material is the wrong shape, not the wrong stiffness. If a boot hurts in a specific place in the store, it will hurt in that same place on trail.
