Hiking field guide
How to Choose Hiking Boots
A hiking boot has to agree with your foot for hours at a time. The fit against your heel, the waterproofing against your skin, and the traction against wet rock are the difference between a boot you love for a decade and one that blisters you by mile three.
Buying hiking boots is more specific than most buying guides make it look. Rain, mud, basalt or granite scree, root-laced forest floor, snowfields, and long wet seasons each push different features to the top of the list. The good news is that the list of things that actually matter is shorter than the internet makes it look. This guide is the decision tree I use after a decade of muddy boots, sore feet, and boots returned twice before I got the pair right. For related pre-purchase reading, see how hiking boots should fit and hiking boots vs. trail runners.
1. Match the Boot to Your Terrain
The single biggest mistake I see is people buying heavy mountaineering boots for flat, groomed day trails, or grabbing mesh-topped trail shoes for a snowy alpine approach. Your boot should match your most demanding regular hike, not your rarest bucket-list one.
Here is the shortcut. Find the line that matches the kind of hike you do most, and the rest of this section will explain the why.
| Terrain | Cut | Distance | Pack weight | Recommend |
|---|---|---|---|---|
|
Smooth groomed trail
|
Low | < 5 mi | < 7 lb (3 kg) | Trail shoe |
|
Mixed dirt + root
|
Mid | 5–12 mi | 7–13 lb (3–6 kg) | Day hiker |
|
Rocky · scree · talus
|
Mid | Any | Any | Stiff day hiker |
|
Wet · muddy · creeks
|
Mid | Any | Any | Waterproof mid |
|
Off-trail / bushwhack
|
High | Any | 10–35 lb (5–15 kg) | Backpacker |
|
Multi-day with pack
|
High | 15–50 mi | 35–55 lb (15–25 kg) | Backpacker |
|
Snow · alpine · ice
|
High | Any | Any | Mountaineering |

Trail Runner / Shoe
Fast, breathable, minimal. For runners, fast hikers, and dry summer trails. Break in same day.

Day Hiker
The all-rounder. Light enough for day trips, enough ankle support for uneven ground. Where most beginners should start.

Backpacker
Stiffer midsole, taller collar, leather or reinforced synthetic upper. Built for multi-day trips with a heavy pack and mixed terrain.
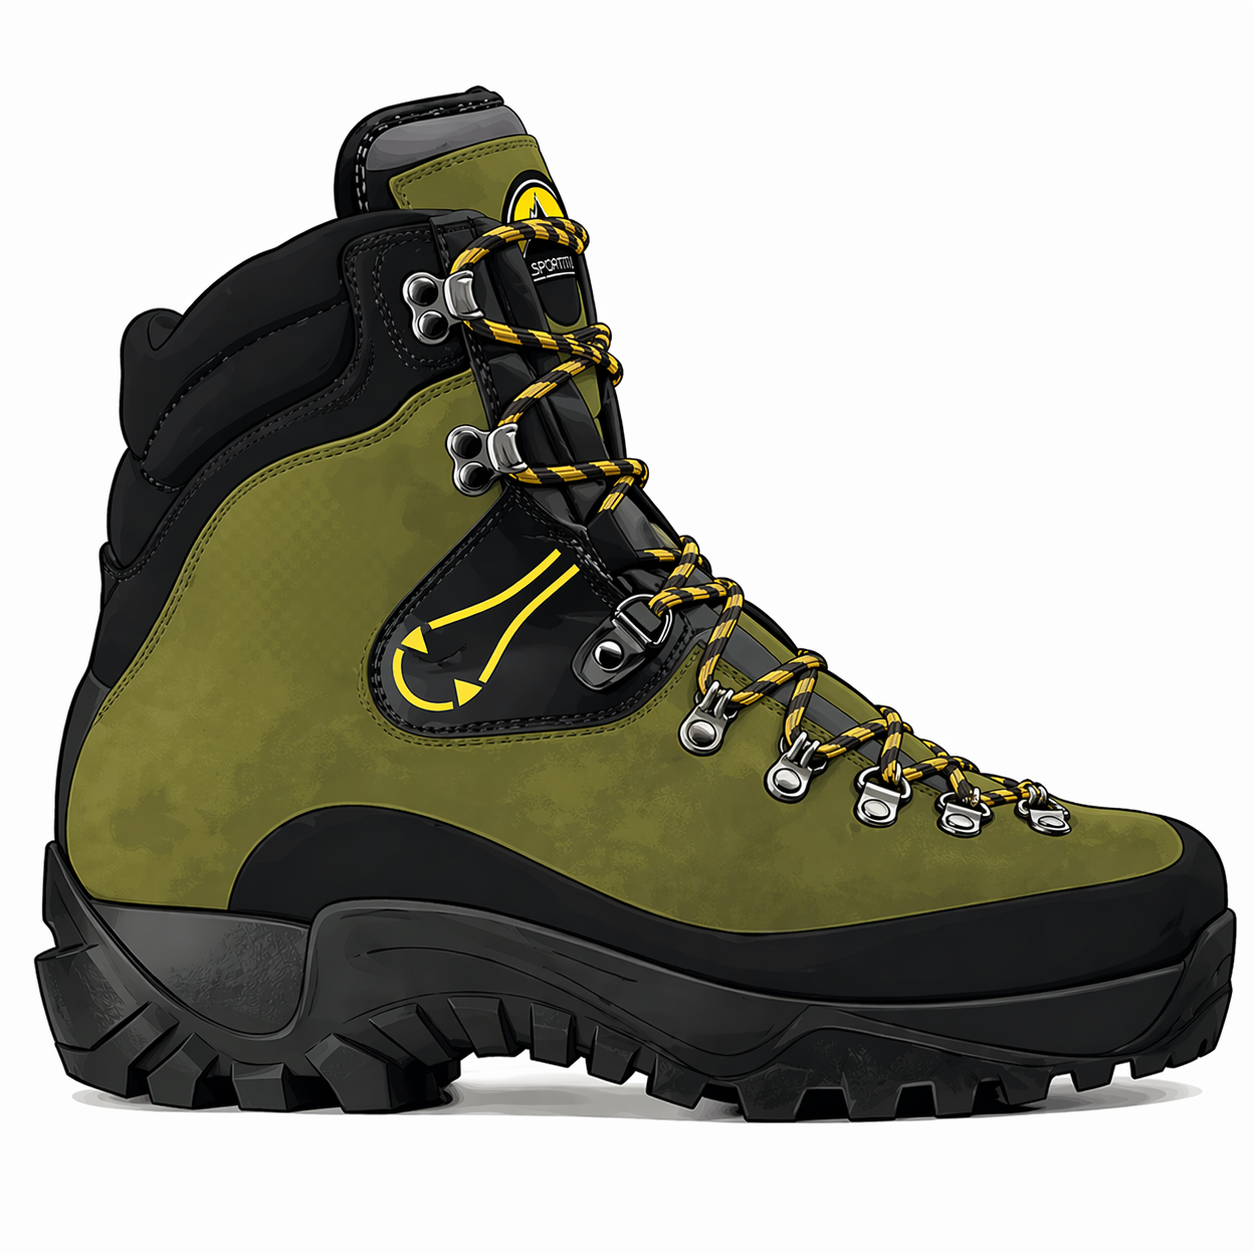
Mountaineering
Crampon-compatible, rigid shank, insulated. For alpine terrain, snow, and technical routes. Overkill for anything else.
Pick your boot for the hike you do most often, not the hike you dream about. A boot that feels great on ten real trips beats a boot that feels perfect on one hypothetical summit attempt.
2. The Six Features That Actually Matter
Forget the 30-point spec sheets. When I’m looking at a new pair of boots, these are the six features I care about, in rough order of importance.
Fit
Nothing else matters if the boot doesn’t fit. Heel lockdown, toe box volume, and instep height are all things you need to feel in person. A $300 boot that slips at the heel will ruin you faster than a $100 boot that fits.
Waterproofing
If you hike in wet climates or shoulder seasons, you need it. A GORE-TEX or proprietary waterproof liner keeps your feet dry in wet grass, mud, and creek crossings. Just remember that waterproof uppers also trap sweat, so pair them with merino wool socks. For dry summer conditions and desert trails, non-waterproof mesh boots breathe better and often dry faster.
Outsole and traction
Vibram is the standard for a reason. Look for deep lugs (at least 4mm) and a rubber compound that stays grippy when wet. Wet basalt, mossy bridges, and slick granite are no joke, and they punish shallow, budget outsoles fast.
Ankle cut and support
Mid-cut is the sweet spot for most hiking. Low-cut is for groomed trails and light loads. High-cut is for rough off-trail, heavy packs, or scree. If you have a history of rolled ankles, size up to a mid or high cut and don’t feel bad about it.
Weight
The old rule of thumb is that one pound on your foot equals five on your back. Lighter is not always better (stiffness matters for load), but for day hikes, keeping total boot weight under 2.5 pounds per pair pays off by mile eight.
Upper material
Full-grain leather lasts longest and resists abrasion, but takes time to break in. Synthetic and split-leather uppers are lighter and more breathable, but wear faster. Most modern boots are a hybrid, which is a reasonable compromise for mixed-weather hiking.
| Material | Weight | Durability | Break-in | Water | Breathe | $ |
|---|---|---|---|---|---|---|
|
Full-grain leather
The classic. Hardest to break in, lasts a decade.
|
$$$$ | |||||
|
Nubuck leather
Sanded full-grain, softer hand, similar longevity.
|
$$$ | |||||
|
Split-grain + mesh
Light and fast-drying. Not as abrasion-proof.
|
$$ | |||||
|
Synthetic (PU / nylon)
Vegan, dries fast, minimal break-in.
|
$$ | |||||
|
Waterproof membrane (GTX)
Inner sock-liner. Dry feet, but hotter and slower to dry once soaked.
|
+$ |

3. Hiking Boots vs. Trail Runners
This is the question I get most. The honest answer depends on your terrain, your pack weight, and your ankles. Trail runners are having a moment for good reason: light, comfortable out of the box, and quick to drain when wet. But they do not protect ankles the way a boot does, and their soft rubber wears out quickly on abrasive volcanic rock and rough trail surfaces.
When trail runners win
Pick trail runners for fast-paced day hikes, runs, and maintained trails under about twelve miles with a light pack. They are lighter on your foot, dry fast after a soaking, and require almost no break-in time. On warm, dry days with a daypack, a good trail runner will beat a boot on comfort, speed, and foot fatigue every time. If your hiking looks like a long summer afternoon on a groomed trail, you probably do not need a boot.
When boots win
Pick boots when you are carrying more than fifteen pounds, crossing wet or muddy terrain, or moving off-trail across rock, scree, or roots. The mid or high cut protects your ankle against rolls on uneven ground, the stiffer sole carries a heavier pack without collapsing, and the more durable upper stands up to abrasive rock that chews through trail runner mesh. If your hiking involves basalt, backcountry miles, or shoulder-season wet, you want a boot.

| Situation | Better choice |
|---|---|
| Off-trail, scree, or loose basalt | Boots. You want stiffness and ankle protection. |
| Backpacking pack over 25 lb | Boots. Support matters more than speed. |
| History of rolled ankles | Boots, mid or high cut. |
| Wet-season hiking in rainy climates | Waterproof boots. Mesh runners get waterlogged. |
| Fast, light days on maintained trail | Trail runners. Faster, cooler, no break-in. |
| Hot, dry summer hiking or desert trails | Trail runners or non-waterproof boots. |
| Day hikes under 10 miles with a light pack | Either, based on personal preference. |
For the full breakdown, read our hiking boots vs. trail runners guide.
4. Get the Fit Right
Fit is the thing no spec sheet can tell you. Try boots on at the end of the day when your feet are slightly swollen, wear the socks you actually hike in, and lace them fully before you decide anything.
- 01 Time it. Measure at end of day. Feet swell up to 8%.
- 02 Wear your hike sock. Full thickness changes length by half a size.
- 03 Heel to wall. Stand, then trace your outline onto paper with the pen held vertical.
- 04 Length and width. Longest toe to heel (A). Widest point across the ball of the foot (B).
- 05 Add 1/2 inch. Downhill, your foot slides forward. Leave 1.25 cm of room for your toes.
| US | UK | EU | CM |
|---|---|---|---|
| 7 | 6 | 40 | 25 |
| 8 | 7 | 41 | 26 |
| 9 | 8 | 42 | 27 |
| 10 | 9 | 43 | 28 |
| 11 | 10 | 44.5 | 29 |
| 12 | 11 | 46 | 30 |
- Finger behind heel. Slide one finger between your heel and the back of the boot.
- No lateral slop. Your foot should not slide side to side when you lace up.
- Toe does not hit front. Kick the toe firmly against the floor. Nothing should touch.
- Heel lock on incline. On a ramp, your heel should stay planted, not lift.
- Midfoot snug, no pinch. Snug through the arch, no pressure on either side.
- Sock dry after 1 hr. If your foot is damp after an hour, breathability is off.
Here is the in-store checklist I run every time, in order:
- Heel lockdown. With the boot fully laced, lift your heel straight up. It should move less than a quarter inch. More than that and you will blister on every descent.
- Toe room. Kick the toe of the boot firmly against the floor or a wall. Your toes should not slam into the front. If they do, size up by a half.
- Width. Your foot should sit flat and fill the boot without pressure on the sides. If the forefoot squeezes when you flex, look at wide-width options or hiking boots for wide feet.
- Flex point. The boot should bend at the ball of your foot, not in the arch. A boot that flexes wrong will fatigue you on long days and can trigger plantar pain.
- Walk a ramp. Most outdoor stores have one. If your toes touch the front going downhill, the boot is a half size too small, no matter how it feels on flat ground.
Most hikers end up a half size larger in boots than in their street shoes. Feet swell on the trail. Plan for it.

5. Socks and Insoles: The Other Half of Fit
You can buy the best boot in the world and still hate it if you pair it with cotton socks or a worn-out stock footbed. Here is the rest of the system.
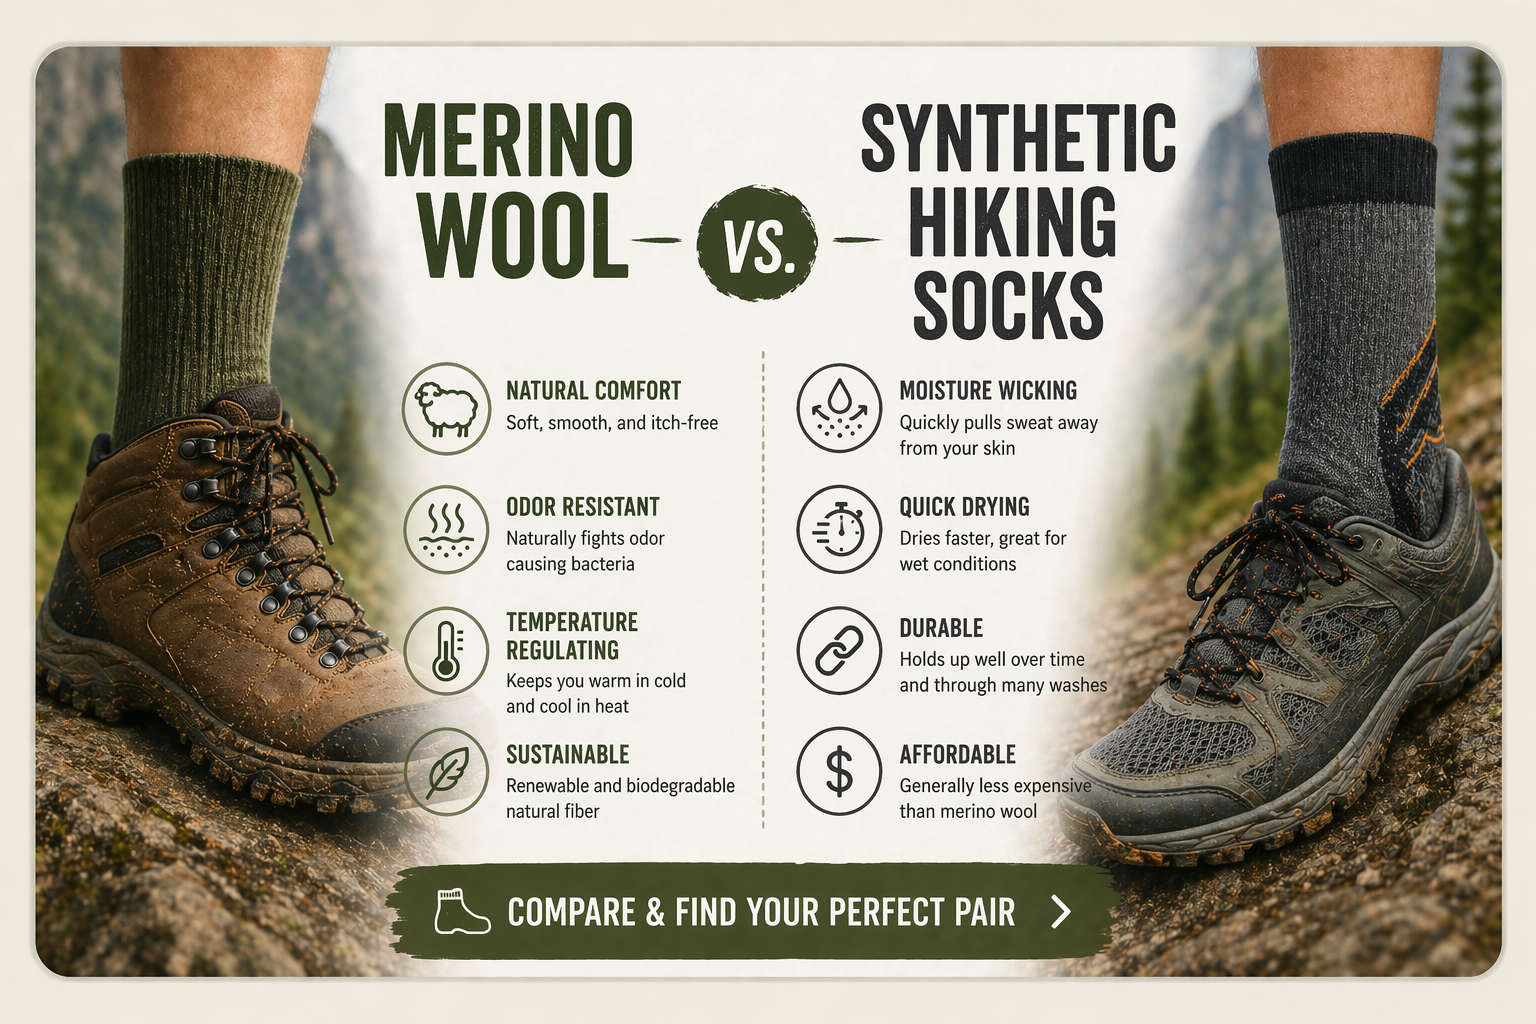
Socks
Merino wool is the answer for almost all hiking. It stays warm when wet, resists odor over multi-day trips, and pads the foot without bulk. Synthetic socks are a fine second choice, especially in summer heat. Cotton is never the answer: it holds water, chills your feet, and invites blisters. For the full fiber breakdown, see merino wool vs. synthetic hiking socks.
Insoles
The insole that ships with most boots is a thin placeholder. Swapping it for a proper aftermarket insole (Superfeet, Tread Labs, or similar) can transform a good boot into a great one, especially if you have high arches or early plantar fasciitis. Expect to spend $40 to $60 for a quality insole. It’s the single best dollar-per-comfort upgrade in hiking gear.

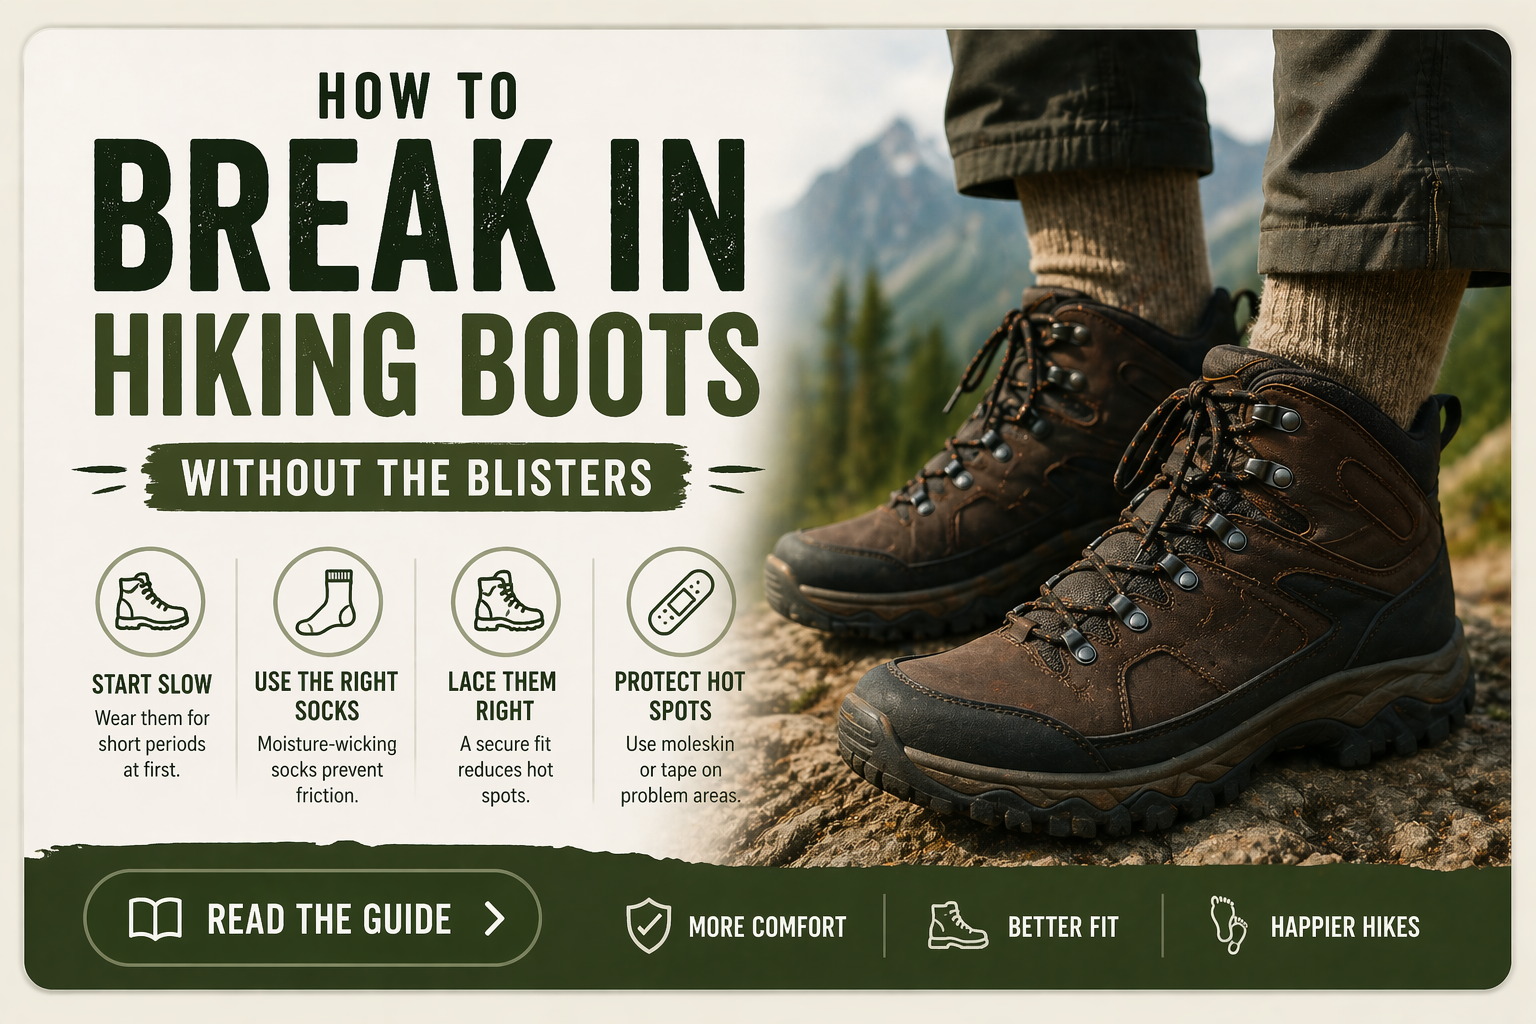
6. Break Them In the Right Way
Modern boots break in faster than boots did a generation ago, but they still need miles on them. Never take a new pair straight onto a long hike. Here is the progression that has worked for me:
- Days 1 to 3. Wear them around the house, then to the grocery store, then on short walks. A few hours at a time.
- Day 4 onward. Short flat walks of 2 to 3 miles in the socks you plan to hike in.
- Day 7 onward. Short trails with some elevation change. Pay close attention to where the boot rubs.
- Before any long hike. At least one 5-mile walk where the boots feel great. If they hurt at mile 4, they will destroy you at mile 10.
For the full method, including how to handle hot spots before they become blisters, see our guide on how to break in hiking boots. If you’re buying in the wet season, also read how to waterproof hiking boots before your first trip out.

Our Tested Hiking Boot Picks
Once you know what you’re looking for, here are the boots I’ve actually put miles on. Every list is ranked by testing, not by price or commission.


Related Guides


Frequently Asked Questions
What features matter most when choosing hiking boots?
Fit comes first. After that, waterproofing, outsole traction, ankle support, weight, and upper material are the features worth your attention. Everything else on a spec sheet is secondary. If a boot doesn’t fit your heel and toe box correctly, no amount of high-end materials will save you on the trail.
Are hiking boots better than trail runners?
For most hikers in variable terrain, yes. Wet ground, mossy rock, and off-trail surfaces reward ankle support and aggressive traction. Trail runners work well for fast, short, maintained-trail days in dry conditions, but they struggle on muddier and rougher terrain. See our full comparison for details.
Do I need waterproof hiking boots?
In wet climates or during shoulder seasons, yes. You’ll regularly hit wet grass, mud, creek crossings, or flat-out rain on most trails. A waterproof liner like GORE-TEX keeps your feet dry and warm. In dry summer conditions or desert hiking, a non-waterproof boot or trail runner breathes better and is often the smarter pick.
How should hiking boots fit?
Snug at the heel with almost no lift, roomy enough in the toe box that your toes don’t hit the front when you kick the boot forward, and flat across the forefoot with no pressure points. Try boots on at the end of the day with your hiking socks, and expect to size up a half size from your street shoes. Read our full hiking boot sizing guide for more.
How long do hiking boots last?
A well-made leather hiking boot should last 800 to 1,200 miles of regular hiking. Lighter synthetic boots and trail-runner-style boots often wear out between 400 and 600 miles, with the outsole usually giving up first. Signs it’s time to replace: tread worn smooth, upper separating from sole, or new hot spots appearing where you used to have none.
How do I break in new hiking boots?
Wear them short, wear them often, and increase distance gradually. Start with a few hours around the house, move to short flat walks, then add elevation and distance. Don’t take a brand-new boot on a hike over 5 miles without testing it first. If you feel a hot spot, stop immediately and tape it.
Are hiking boots good for snow?
Regular waterproof hiking boots handle shallow snow and packed trails fine, especially with gaiters. For deeper snow, steep snowfields, or sustained winter hiking, you’ll want an insulated winter hiking boot with a stiffer sole that works with traction devices or microspikes. A three-season hiking boot is not a winter boot, even if it’s waterproof.
