Hiking field guide
How to Break In Hiking Boots
A new boot is half a piece of equipment. The other half is the 60 miles of walking that turn it into yours, in the right order, on the right surfaces, with the right diagnostics when something starts to hurt.
Most break-in advice is identical across the internet: wear them around the house, walk on flat ground, increase distance over time. That advice is correct and almost useless, because it does not tell you how far, how fast, on what surface, or what to do when something starts to hurt at mile four.
This guide is the version I wish I had the first time I bought a real pair of leather boots: a specific 60-mile timeline broken into four stages, the exact terrain to use at each stage, what hot spots mean, how to fix them with lacing instead of returning the boot, and the honest line where you should stop and return the boot anyway. If you are still picking the boot itself, the companion guide on how to choose hiking boots covers fit, last shape, and what to test in the store before any of this matters.
1. Confirm the fit first
Before any break-in advice applies, the boot has to be the right boot. Walking 60 miles in the wrong size is not break-in, it is damage to your feet and to a piece of equipment you will end up returning anyway. Run this test the day the boots arrive, before you take the tags off the laces.
The one-hour indoor test
- Put on the merino wool socks you will actually hike in. Not cotton tube socks. Not dress socks.
- Insert the insoles you plan to use long term, whether stock or aftermarket.
- Lace the boots the way you would on trail, snug at the instep with no gaps.
- Walk normally around the house for one full hour. Sit, stand, climb stairs, walk up and down the hallway.
- Pay attention to four specific things, in this order: heel slip, toe contact downhill, arch position, and pressure points across the top of the foot.
If after one hour the heel slips more than a quarter inch, the toes touch the front of the boot when you walk down a stair, the arch support is forward or behind where your arch actually is, or there is a sharp pressure point you cannot lace away, return them. The store’s return policy starts the moment you receive them, and clean indoor wear is fully returnable. No amount of break-in fixes a wrong size.
2. Why boots need breaking in (and what is actually breaking in)
Three things are happening over those 60 miles, and only one of them is the boot.
The boot itself
Leather, especially full-grain leather, arrives stiff. It needs to flex repeatedly along the natural bend lines of your foot before it will stop fighting your stride. Synthetic and fabric uppers flex faster but still need a few dozen miles before the toe-flex point and ankle collar settle into their final shape. Midsoles compress slightly and stop being so springy. None of this happens overnight.
Your foot
This is the part nobody talks about. Your foot has to adapt to a new boot’s geometry. Calluses build along new pressure lines. The small stabilizing muscles in your ankle work differently in a stiff mid than they do in a sneaker. Your arches feel a different support shape. Even a perfectly fitting boot will feel slightly off for the first 10 to 20 miles because your foot is the one doing most of the adapting.
The fit between the two
The boot and the foot meet in the middle. The boot conforms to your foot’s specific shape, slightly. Your foot conforms to the boot’s specific shape, slightly. They negotiate, and after about 30 miles together they have agreed where the pressure goes and where it does not. This is what people actually mean when they say a boot is “broken in.”
3. The 60-mile, four-stage method
Sixty miles is the upper end. Light fabric mids may be done at 20. Stiff full-grain mountaineering boots may need 80 or more. The four-stage progression is the same regardless of where your specific boot sits on that spectrum, just compressed or stretched. As rough anchors: a fabric mid like the Merrell Moab 3 or the La Sportiva Ultra Raptor often finishes break-in around mile 20. A leather-and-mesh mid like the Salomon Quest 4 GTX or the Oboz Bridger lands closer to mile 50. A full-grain leather backpacking boot like the Lowa Renegade or the Asolo Fugitive runs the full 60 to 80.

| Stage | Mileage | Surface | Pack weight | Goal |
|---|---|---|---|---|
| 1 | 0 to 5 | Indoor, sidewalk | None | Materials start flexing |
| 2 | 5 to 15 | Flat dirt or gravel | 10-15 lb daypack | Foot adapts, hot spots surface |
| 3 | 15 to 30 | Rolling, 500-1500 ft gain | 15-20 lb | Boot conforms, descents tested |
| 4 | 30 to 60 | Real trail, technical | Full hike weight | Trail-ready, zero hot spots |
Stage 1 (miles 0-5): around the house and the block
Wear them inside while you cook, work, or watch a movie. Walk to the mailbox, around the block, to the corner store. One- to two-mile sidewalk walks. Goal at this stage is the materials starting to soften and the upper learning where your foot bends. You are not trying to cover distance, you are exposing the boot to flex cycles.
Stage 2 (miles 5-15): flat dirt and a light pack
Move off pavement onto graded dirt path or gravel. Park paths, rail trails, neighborhood greenways. Add a daypack with 10 to 15 pounds, roughly the weight you will carry on a real day hike. Walks of two to four miles. This is where most hot spots first appear, and it is where you want them to appear, because you are 10 minutes from your car.
Stage 3 (miles 15-30): rolling terrain and real elevation
Find a hike with 500 to 1500 feet of elevation gain over rolling terrain. Bring a 15- to 20-pound pack. Walks of four to six miles. Descents are now part of the picture, which is the first time your toes will be tested against the front of the boot. If you are going to feel toe bang, this is the stage where you find out.
Stage 4 (miles 30-60): real trail, full pack
Rocky trail, technical descents, the actual conditions you bought the boots for. Full hiking pack weight. Hikes of six to ten miles. By the end of this stage the boot should move with your foot, the upper should crease in the same places yours does, and there should be zero hot spots on familiar terrain. If there are, jump to section 7.
4. Oregon walks for each stage
The terrain progression above is generic. If you live in or are visiting Oregon, the specific walks below match each stage almost perfectly, and most of them are within 30 minutes of Portland or Eugene.
| Stage | Walk | Why it works |
|---|---|---|
| 1 | Your neighborhood, the Eastbank Esplanade, the Eugene riverfront path | Pavement, flat, short. Easy to bail. No commitment. |
| 2 | Forest Park lower trails, Tryon Creek loops, Mt. Pisgah loop | Soft dirt, mild rolling. Loops keep distance manageable. |
| 3 | Powell Butte, Council Crest, Spencer Butte, Multnomah-Wahkeena loop | Real elevation, real descents, but bailable. |
| 4 | Dog Mountain, Saddle Mountain, Cape Horn, Eagle Creek to Punchbowl | Rocky technical trail, sustained climb and descent. Trail-ready test. |
For a deeper dive on the stage-four candidates, the guides on Trail of Ten Falls and the Rogue-Umpqua Scenic Byway hikes both work as honest test ground for boots that have already cleared 30 miles.
5. Hot spots and how to stop them
A hot spot is the warning before a hiking blister. It is a localized warm or burning sensation, usually on the heel, ball of the foot, or top of the toes, that means the friction at that spot has crossed the threshold where the skin is starting to separate. Caught early, it takes 60 seconds to fix. Ignored, it becomes a blister that ends the walk.

The 60-second hot-spot protocol
- Stop walking immediately. Not at the next overlook, not in a quarter mile. Now.
- Sit down and pull the boot off. Pull the sock down, look at the spot, and check if the skin is pink, red, or already showing a clear film. Pink is fine. Red is your last warning. Film means you already have a blister.
- Dry the sock and the foot. Moisture multiplies friction. A dry foot has roughly half the blister risk of a wet one.
- Tape the skin, not the sock. A two-inch square of leukotape directly on the skin, smoothed flat, is the gold standard. Moleskin works but slips more. Bandages are useless because the adhesive is not strong enough.
- Re-lace before you put the boot back on. A hot spot almost always means the lacing is too loose somewhere or too tight somewhere else. Skip to section 6 for the specific fix.
Leukotape is not optional gear during break-in. A small roll lives in my hip-belt pocket on every break-in walk and has saved more pairs of boots than any other piece of equipment. Pre-tape any spot that gave you trouble on a previous walk before the next one starts.
6. Lacing fixes for specific problems
Most break-in pain that is not a fit problem is a lacing problem. Three lacing techniques solve about 90 percent of what people blame on the boot itself.
Heel slip → heel lock
If your heel lifts more than a quarter inch with each step, you need a heel lock. At the top two eyelets nearest your ankle, instead of crossing the laces, run each lace straight up through its own next eyelet, creating two small vertical loops. Pass the opposite lace through the loop on each side, then tie. The two loops cinch down on the ankle and stop the heel from lifting. This is the single most useful lacing trick in hiking and the one most people never learn.
Toe bang on descents → window lace
If your toes hit the front of the boot on steep downhills, the laces are too tight across the bend point of your foot, allowing the foot to slide forward inside the boot. Skip one crossover near the bend point of your foot, leaving a small “window” of unlaced eyelets, then resume normal lacing above and below. The window relieves pressure across the bend without loosening the rest of the boot.
Top-of-foot pressure → skip lace
If the top of your foot aches in a specific spot, the lace is pressing too hard at that crossover. Identify the exact crossover causing the problem, skip it entirely so the lace runs straight up from the eyelet below to the eyelet above, and continue normal lacing the rest of the way. This bypasses the pressure point without loosening anything else.

7. When to give up and return them
The hardest sentence in this guide is also the most important: not every boot is the right boot. There is a specific point at which more break-in mileage will not fix what is wrong, and continuing to push past it costs you blisters now and an injury later.
The mile-30 rule
If a hot spot keeps coming back to the same place past mile 30, after you have tried at least two lacing adjustments, the boot is the wrong size or the wrong shape for your foot. The break-in window is over. The materials have done what they are going to do. What is left is a fit problem, and fit problems do not break in.
What “wrong” usually looks like
- Width mismatch. Pinching across the ball of the foot or pressure on the small-toe knuckle that has not improved by mile 30 means the last is too narrow for you. Look for a wide-width version or a different brand.
- Volume mismatch. Top-of-foot pressure that returns no matter how you lace means the boot’s instep volume is too low for your foot. Some brands run high volume (Oboz, Salomon), others run low (La Sportiva, Asolo).
- Arch mismatch. A persistent ache or stabbing pain in the arch area means the boot’s arch geometry does not match yours. Aftermarket insoles can sometimes fix this, but only sometimes.
- Length mismatch. Toe contact on every descent, even with a window lace and tight heel lock, means the boot is too short. Half a size up.
Use the return policy
REI’s return window for boots is one year for members and 90 days for non-members, and it explicitly accepts boots that have been hiked in. Most other large outdoor retailers including Backcountry and Public Lands have similar 60- to 90-day windows. The retailer expects this. They have priced it in. Return the boot, take what you learned about your foot’s actual shape, and try a different model.
8. Leather conditioning and aftercare during break-in
Most modern boots ship pre-treated, and you will not need to do anything to them for the first season. The exception is full-grain leather boots without a factory treatment, which benefit from a single light conditioning at a specific point in the break-in.
The one-time conditioning window
For untreated full-grain leather, apply a thin coat of Nikwax Leather Restorer, Obenauf’s LP, or the manufacturer’s recommended product after the first 5 miles, not before. The first 5 miles tell the leather where it needs to flex, and conditioning before that “trains” the wrong flex pattern. A thin coat after stage one accelerates conformity to your foot.
What not to do
- Do not use mink oil, beeswax, or heavy waxes on suede, nubuck, or fabric panels. These darken and stiffen the material and ruin breathability.
- Do not condition more than once during break-in. Over-conditioning softens the leather past what the boot’s structure was designed for.
- Do not soak the boots in water to “speed up” break-in. Modern adhesives, foams, and waterproof membranes are not designed for prolonged immersion, and most warranties exclude damage from deliberate soaking.
After every break-in walk
Knock dried mud off, pull the insoles out to dry separately, and stuff the boots loosely with newspaper if they got wet. Do not put leather boots near a fireplace, radiator, or hot car dashboard. Leather dried with concentrated heat cracks. Air-dry at room temperature.
9. Myths to skip
Four pieces of common break-in advice are either outdated, misleading, or actively harmful to modern boots.
Soak them in water and walk until they dry
This was a leather-only technique used decades ago on heavy welted boots with minimal internal structure. Modern boots use adhesives, foam, gusseted tongues, and waterproof membranes that are not designed for prolonged saturation. The wet-walk method can delaminate the midsole, ruin breathability, and void most warranties.
Wear them every day for a month
Calendar time does nothing. A boot worn at a desk for eight hours a day broke in less in a month than a boot that walked 30 miles in a weekend. Mileage is the only currency that matters.
If they hurt, push through, they will break in
Hot spots and ache from new geometry are normal in the first 10 miles. Sharp pain, stabbing pain, and persistent localized pressure are not. Pushing through real pain to “force the break-in” creates blisters in the short term and gait compensation injuries in the long term.
Bigger is safer
A boot too long allows the foot to slide forward on descents, jamming toes against the front. A boot too wide allows the foot to slide laterally, creating heel slip even with a heel lock. The right size is the right size, even when the wrong sizes seem like they should be more “comfortable.”
10. Common mistakes
Skipping the indoor fit test
Most people lace the boots and immediately walk outside. The indoor hour costs nothing and saves you from non-returnable used boots if the fit is wrong from the start.
Jumping straight to stage three
A first walk on rolling forested trail with a 20-pound pack is a recipe for blisters because your foot has not adapted to the boot yet. The first walks are short, flat, and unloaded for a reason.
Ignoring the first hot spot
The first time something feels warm on a break-in walk, that is the warning. Tape it. The second hot spot in the same place on the next walk is a lacing problem. The third is a fit problem.
Switching socks halfway through break-in
The boot is breaking in around the volume your foot plus your sock takes up. A different sock changes that volume and effectively resets the break-in for the spots where the volume changed. Pick the sock you will actually hike in and stay with it. (See merino vs synthetic hiking socks for the choice itself.)
Not using leukotape
A two-dollar roll prevents the blister that ends a hike and the blister that ruins the next walk. Pre-tape any spot that gave you trouble before. The cost is invisible.
Treating break-in as one-time
A boot worn occasionally over a season needs a small re-break-in each spring. The leather stiffens, your foot changes slightly, and the materials need a few miles to remember each other. Treat the first hike of every season like an early stage three.
Gear that pairs with a well-broken-in boot
The boot is one piece of the system. The sock, the insole, and the gaiter all matter, and the right combination prevents the problems break-in is supposed to solve.

Hiking footwear, reviewed
Boots, mids, and trail runners we have actually hiked in. Sorted by terrain and use case.

Hiking socks
Merino blends and synthetics that prevent the blisters break-in is supposed to.

Aftermarket insoles
Arch and volume fixes for boots that fit almost-but-not-quite.
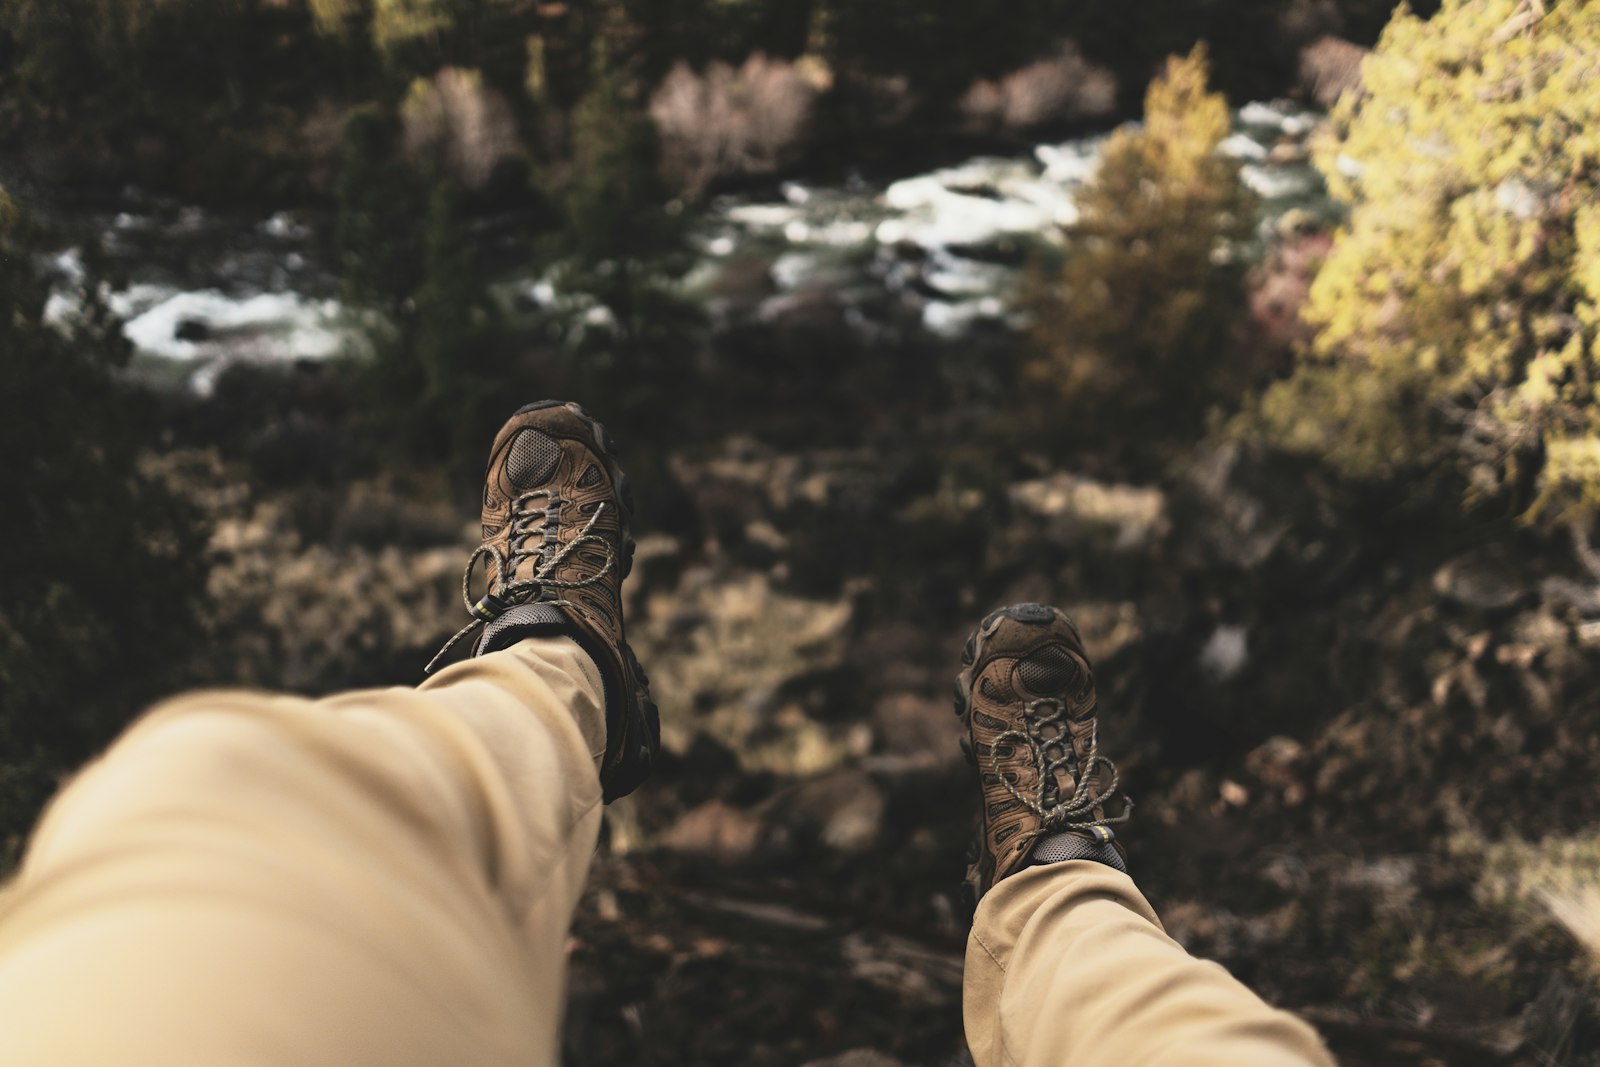
Hiking apparel
Pants, baselayers, and shells for the break-in walks themselves.
Common questions about breaking in hiking boots
Roughly 30 to 60 miles of progressive walking spread over three to six weeks for most modern leather or fabric boots. Lighter trail-runner-style mids may be ready in 15 to 20 miles. Stiff full-grain leather mountaineering boots can take 80 to 100 miles. Mileage matters more than calendar time.
Yes, but less than they used to. Synthetic and fabric boots flex faster, often within 15 to 20 miles. Full-grain leather boots still need real distance. The hidden break-in nobody talks about is your foot, not the boot. Calluses, ankle stabilizers, and arch tolerance all need time to adapt to a new boot’s geometry, and that adaptation takes mileage regardless of how flexible the boot is.
Don’t. The wet-sock-and-walk method was a leather-only technique used decades ago on heavy welted boots, and it can damage modern adhesives, foam, waterproof membranes, and synthetic uppers. Most manufacturers will void the warranty if there is evidence the boot was deliberately soaked. Walk them in dry.
Wearing them indoors at a desk job is fine and counts toward stage one. Wearing them on concrete all day at a standing job is not, because concrete creates a flexion pattern that does not match trail movement and can wear out the midsole prematurely. Save them for walking, not standing.
Pain past mile 30 is a fit problem, not a break-in problem. The most common causes are wrong width, wrong volume, or wrong arch position, and none of those resolve with more mileage. Most outdoor retailers including REI accept returns on used boots within 90 days specifically because they want you to hike in them long enough to know. Use that policy.
A small amount of hot-spot rubbing in the first 5 to 10 miles is normal as the materials soften. Actual blisters are not. If you are getting blisters in the same spot more than once, the lacing is wrong, the sock is wrong, or the boot is the wrong size. Address it before the next walk, not after.
Most modern boots arrive pre-treated and need nothing for the first season. For full-grain leather boots without a factory treatment, a light coat of a manufacturer-recommended conditioner like Nikwax Leather Restorer or Obenauf’s LP after the first 5 miles softens the leather and helps it conform to your foot. Avoid heavy waxes on suede, nubuck, or fabric panels.
