
How to Choose Binoculars
Eight decisions stand between you and the right pair: use case, magnification, objective lens size, prism type, coatings, waterproofing, eye relief, and budget. Work through each one in order and the choice gets simple.
Knowing how to choose binoculars is not complicated once you work through the right questions in the right order. This guide strips out the marketing noise and covers what actually determines whether a pair will serve you well on an Oregon trail or along the coast. If you want to understand the numbers on the box before you start here, read our binocular numbers explainer first. If you already have a configuration in mind and just want our tested picks, jump to the gear section below.

1. Start With Your Use Case
Most mistakes when figuring out how to choose binoculars happen because someone picks a specification first and then tries to fit their activities around it. The right sequence is the reverse: name exactly what you will do with them, and the specs follow naturally. Here is how the most common use cases translate to a starting configuration.
When in doubt about how to choose binoculars, buy 8×42. It is the binocular equivalent of a well-broken-in pair of trail runners: it works for essentially every outdoor use case, and it will not punish you for not already knowing exactly what you need.
2. Choose Your Magnification
The first number on any pair of binoculars is magnification. An 8x pair makes objects appear 8 times closer than the naked eye. A 10x pair makes them appear 10 times closer. This is the decision most people get wrong when learning how to choose binoculars, because the instinct is to assume higher magnification is always better.
Why 8x is the default for most buyers
Higher magnification shrinks your field of view, amplifies hand shake, and reduces image brightness in low light. All three of those costs are real in everyday outdoor use. An 8x pair has a wider field of view than a 10x pair at the same price, holds steadier in hand, and gathers more usable light at dawn and dusk because of a larger exit pupil. Most professional birding guides, wildlife biologists, and serious naturalists use 8×42 as their primary pair. The American Birding Association consistently recommends 8×42 as the starting configuration for new birders. That is not a coincidence.
When 10x earns its place
10x is the right choice for open terrain where subjects are far away and mostly stationary: coastal shorelines, high desert, alpine ridgelines, offshore whale watching from a stable platform. In those conditions, the extra reach matters and the narrower field of view is less of a penalty because you are not tracking birds through dense cover. 10x also suits hunters glassing open hillsides for elk or deer at distance. If most of your birding or wildlife watching is in forests, shrubby habitat, or any situation where subjects move quickly, 8x will serve you better.
What to avoid
12x and higher are specialty tools that require a tripod, a shoulder brace, or a rest against a tree to produce a usable image. Handheld use above 10x is practically unusable for most people because hand tremor is magnified alongside the subject. Manufacturers sell 12x and 15x binoculars for legitimate reasons, but they are not general-purpose outdoor optics.
For a full breakdown of what magnification numbers mean and how they affect performance, see our guide to what binocular numbers mean.
3. Choose Your Objective Lens Size
The second number on binoculars is the objective lens diameter in millimeters. Larger lenses gather more light, which produces a brighter image in dim conditions. They also make the binoculars heavier and bulkier. Here is how to match lens size to how you actually use them.
| Lens size | Weight range | Best for | Low-light performance |
|---|---|---|---|
| 25mm | 10–12 oz | Pocket carry, travel, bright daylight use | Weak at dawn and dusk |
| 32mm | 16–20 oz | Hiking, backpacking, lightweight birding | Good in most conditions |
| 42mm | 22–28 oz | All-around birding, wildlife, general use | Excellent |
| 50mm | 30–40 oz | Astronomy, low-light wildlife, whale watching | Outstanding |
When thinking about how to choose binoculars by size, the 42mm is the right choice for the majority of buyers because it balances optical performance against carry weight. The 32mm is worth considering seriously if you backpack or hike long distances and want to save 6 to 10 ounces without a large drop in performance. The jump to 50mm makes sense only if low-light performance is your primary requirement, such as for astronomy or dawn coastal wildlife watching, because the weight penalty is significant over a full day on trail.
4. Set Your Budget
One of the most important decisions when figuring out how to choose binoculars is how much to spend. Binoculars follow a predictable quality curve: meaningful improvements per dollar spent up to roughly $500, diminishing but real returns from $500 to $1,500, and a luxury premium above that. Here is how to think about each tier.
When learning how to choose binoculars, the most common mistake is underbudgeting. People who buy $80 binoculars frequently replace them within a year or two because the optical quality frustrates them in real conditions. Spending $200 to $300 upfront is almost always cheaper than buying twice.
5. Prism Type: Roof vs Porro
Prism type is a detail many people skip when they research how to choose binoculars, but it affects both the shape of the pair and how much optical quality you get per dollar. There are two common prism arrangements and they produce different designs.
Roof prism binoculars
Roof prism binoculars have straight barrels where the eyepiece and objective lens are in direct alignment. This creates the slim, cylindrical shape you see in most modern binoculars. Roof prisms are more compact, easier to weatherproof, and easier to grip one-handed. They dominate the market above $200 for practical outdoor use. The trade-off is that achieving the same optical quality in a roof prism design costs more, because the straight-barrel light path requires a phase correction coating on the prism to prevent a loss of contrast and resolution. Good quality roof prism binoculars include this coating. Lower-cost roof prisms often skip it, which is one reason cheap roof prism optics can look soft and low-contrast.

Porro prism binoculars
Porro prism binoculars have the traditional stair-step shape where the objective lenses are set wider than the eyepieces. The wider objective spacing produces slightly better depth perception and three-dimensional imaging. More importantly, porro prisms deliver better optical quality per dollar spent than roof prisms because the light path does not require phase correction coating. A $150 porro prism pair often matches the optical quality of a $250 roof prism pair. The trade-offs are size, bulk, and less weatherproofing. Most new production binoculars are roof prism, so the porro options are more limited today.

For most buyers, roof prism is the practical choice. The market is larger, the designs are more compact and packable, and quality options exist at every price point. If budget is tight and optical quality per dollar matters most to you, a porro prism pair in the $100 to $200 range is worth considering.
6. Waterproofing and Coatings
Two categories of spec language appear on binocular packaging that are worth understanding: coatings and weatherproofing. Both matter for real outdoor use.
Lens coatings
Every glass-to-air surface in a pair of binoculars reflects some light. Coatings reduce that loss. Here is what the marketing terms actually mean:
Phase correction coating
This is a prism coating specific to roof prism designs. Without it, the straight-barrel light path introduces a phase shift that reduces contrast and resolution. Good roof prism binoculars include it. Look for “phase correction coating,” “PC coating,” or “P coating” in the specs. It typically starts appearing around $200 to $300 and is standard above $400. If a roof prism pair at any price does not mention this coating, the image quality will be softer than it should be at that magnification.
Weatherproofing
For outdoor use in Oregon, waterproofing is not optional. Oregon weather changes fast, mornings on the coast are routinely foggy and damp, and forest birding at dawn involves heavy dew. Look for both waterproof and fogproof in the product description. Waterproof means O-ring sealed against water intrusion. Fogproof means the interior is purged with nitrogen or argon gas so internal lenses cannot fog when moving from cold to warm air. Both should appear in the specs for any outdoor binoculars above $150. Nitrogen and argon are both inert gases and perform identically in practice despite what marketing copy sometimes implies.
7. What to Check When Comparing Pairs
If you are still deciding how to choose binoculars and can test pairs before buying, here is what to look for when you put two pairs side by side. These tests take about five minutes and reveal most of the quality differences that matter in real use.
Edge sharpness
Focus on a distant subject at the center of the image. Then look at the edges and corners. On a quality pair, the image stays sharp across most of the field. On a lower-quality pair, the edges will be visibly soft or distorted. The sharper the edges across the full field of view, the better the overall optical design.
Chromatic aberration
Point the binoculars at a high-contrast edge, such as a dark tree branch against a bright sky. On lower-quality optics, you will see a color fringe (usually purple or green) along that edge. On good optics, the edge looks clean with no color fringing. This is a reliable way to identify optical quality differences between two pairs at the same price.
Focus wheel feel and close focus
The focus wheel should turn smoothly without slop or stiffness. Try to focus on something as close as possible and note the minimum focus distance. For birding, under 6 feet is a significant advantage. The diopter adjustment (usually on one eyepiece or a separate ring) should be lockable so it does not drift in a pack.
Eye relief for eyeglass wearers
If you wear glasses, look up the eye relief specification before testing. Eye relief needs to be at least 14mm to see the full field of view with glasses on, and 16 to 20mm is more comfortable. Test specifically with your glasses on. If the image vignettes at the edges (dark ring at the outside of the view), the eye relief is insufficient for your frame and lens combination.
Balance and grip
Hold the binoculars at arm’s length with one hand supporting the body and your eyes at the eyecups. A well-balanced pair feels natural and does not tip forward. Check that the focus wheel reaches your index finger naturally without repositioning your grip. Subtle ergonomics like this determine whether a pair is comfortable to use for two hours on a trail.
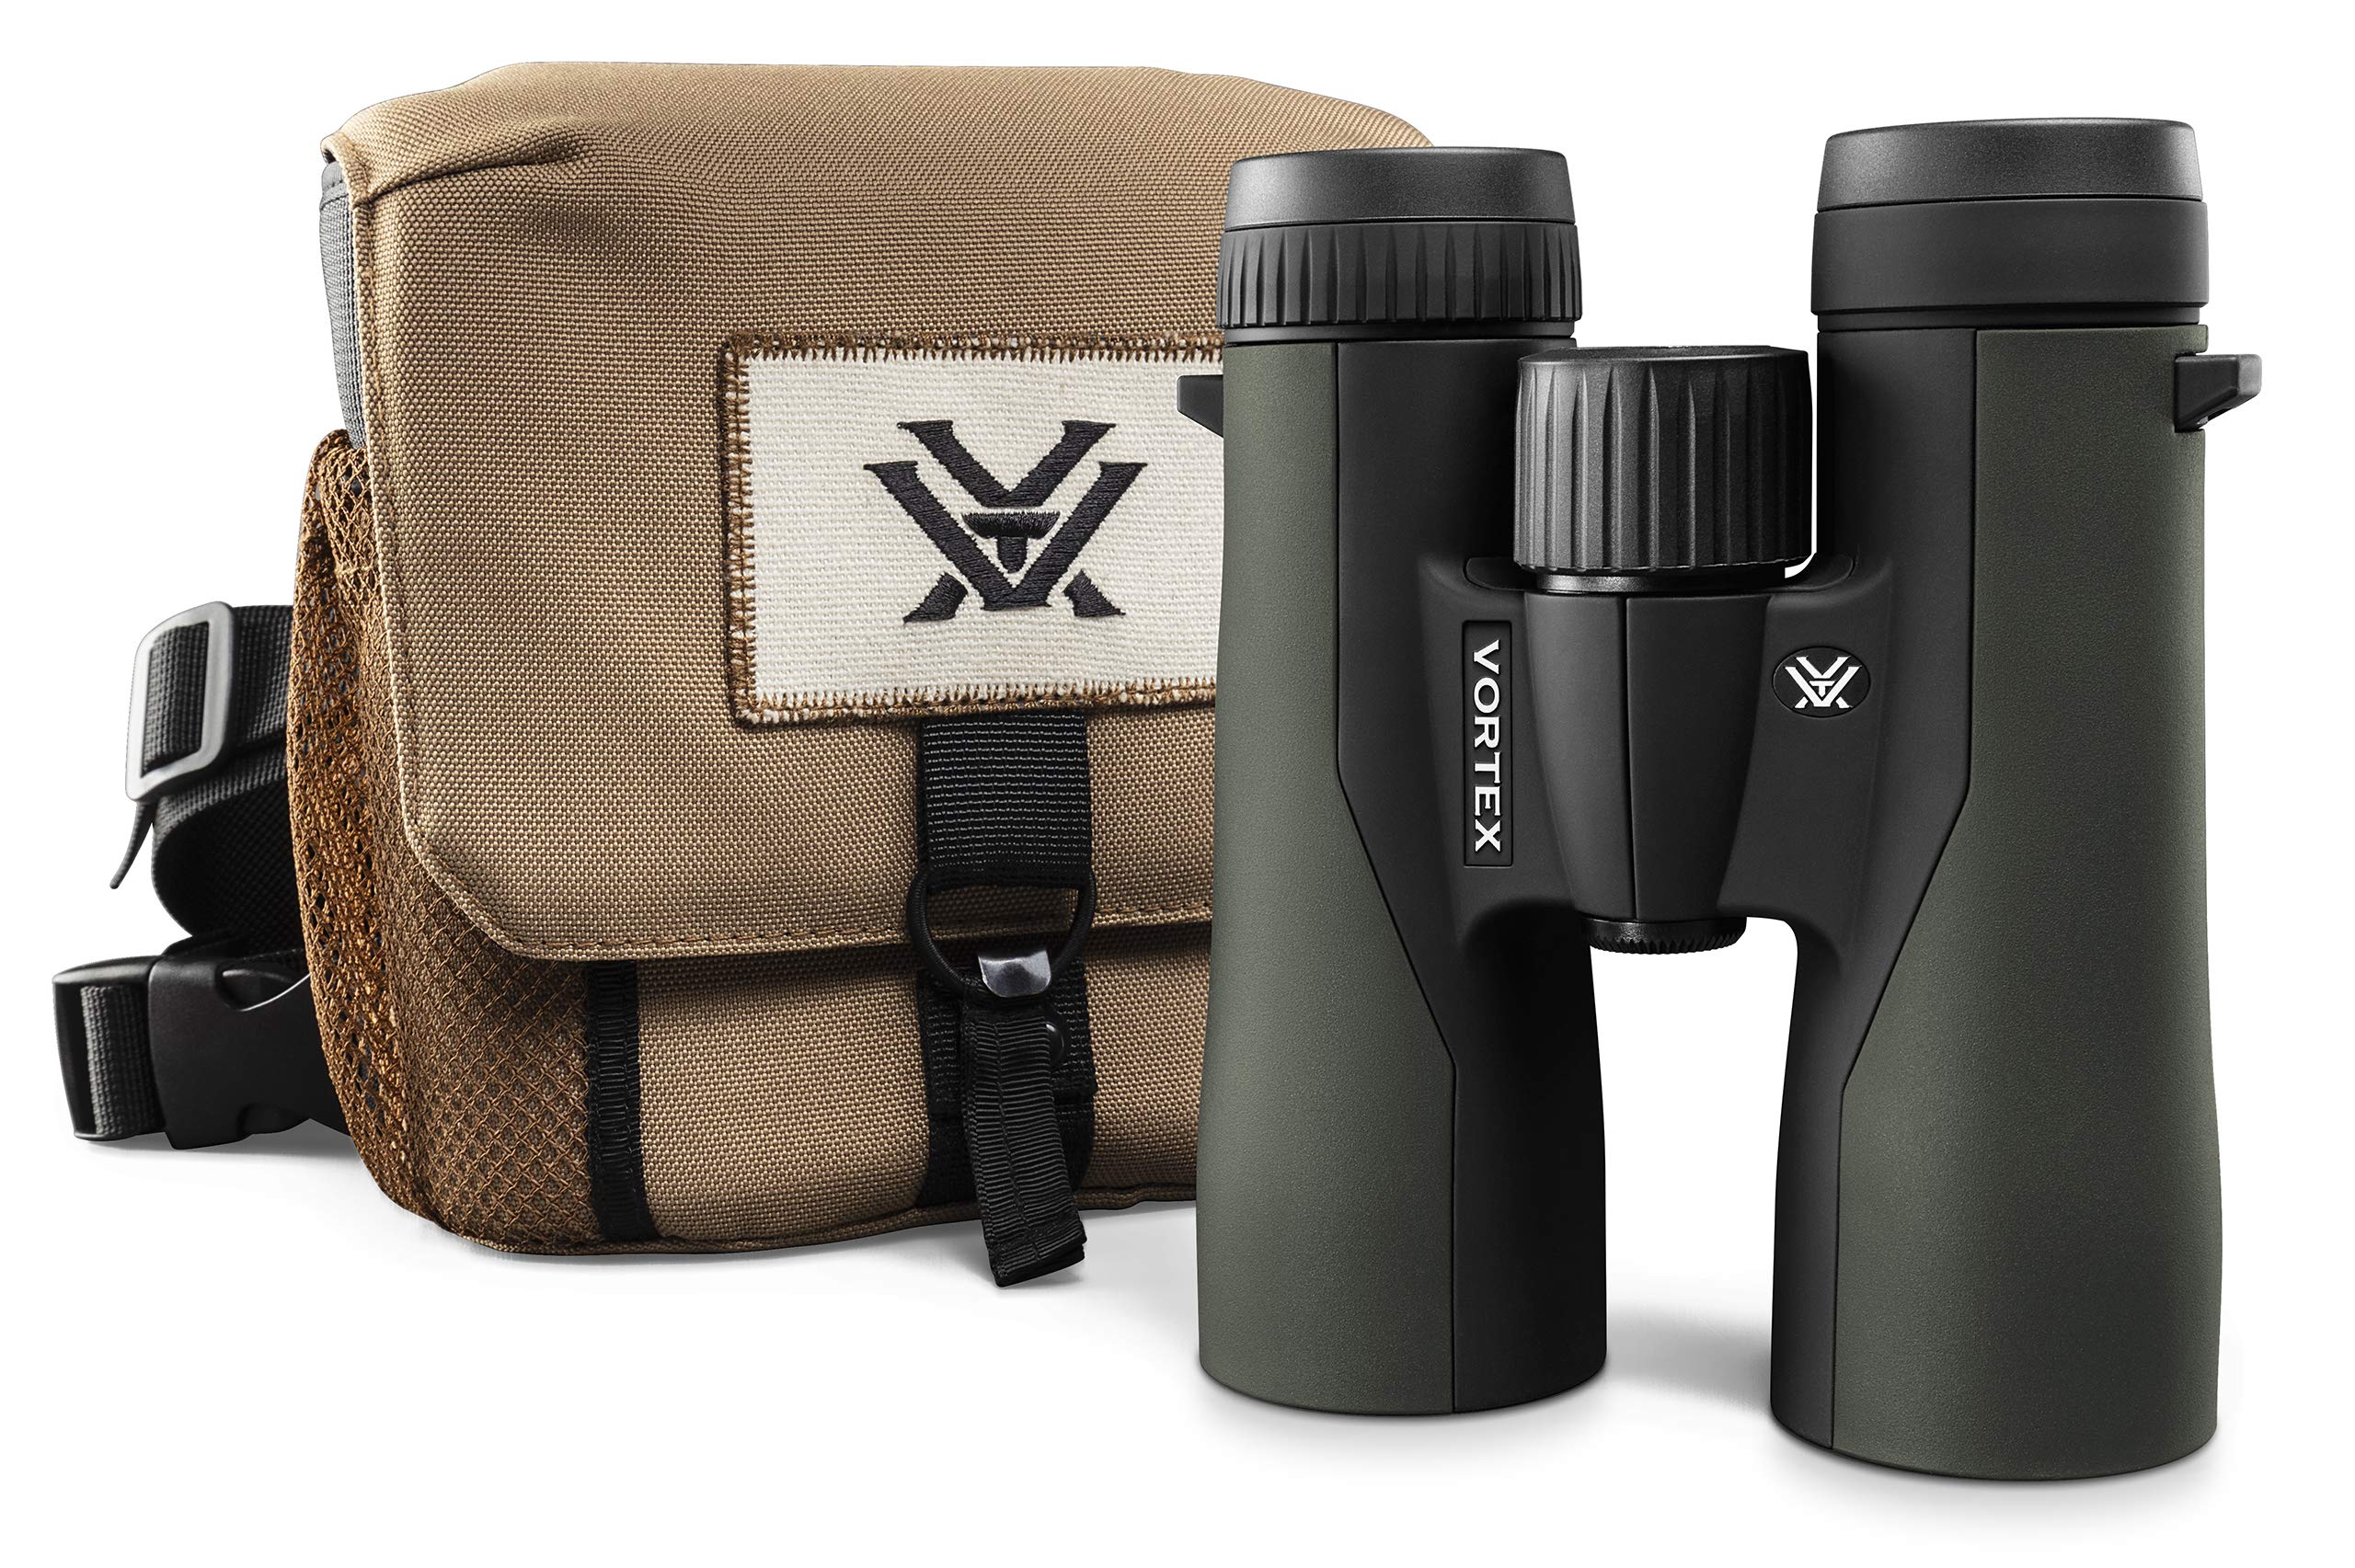
How to Choose Binoculars: Our Top Picks for Each Budget
These are the three pairs we come back to most often when someone asks for a direct recommendation. All three are available on Amazon with fast shipping.
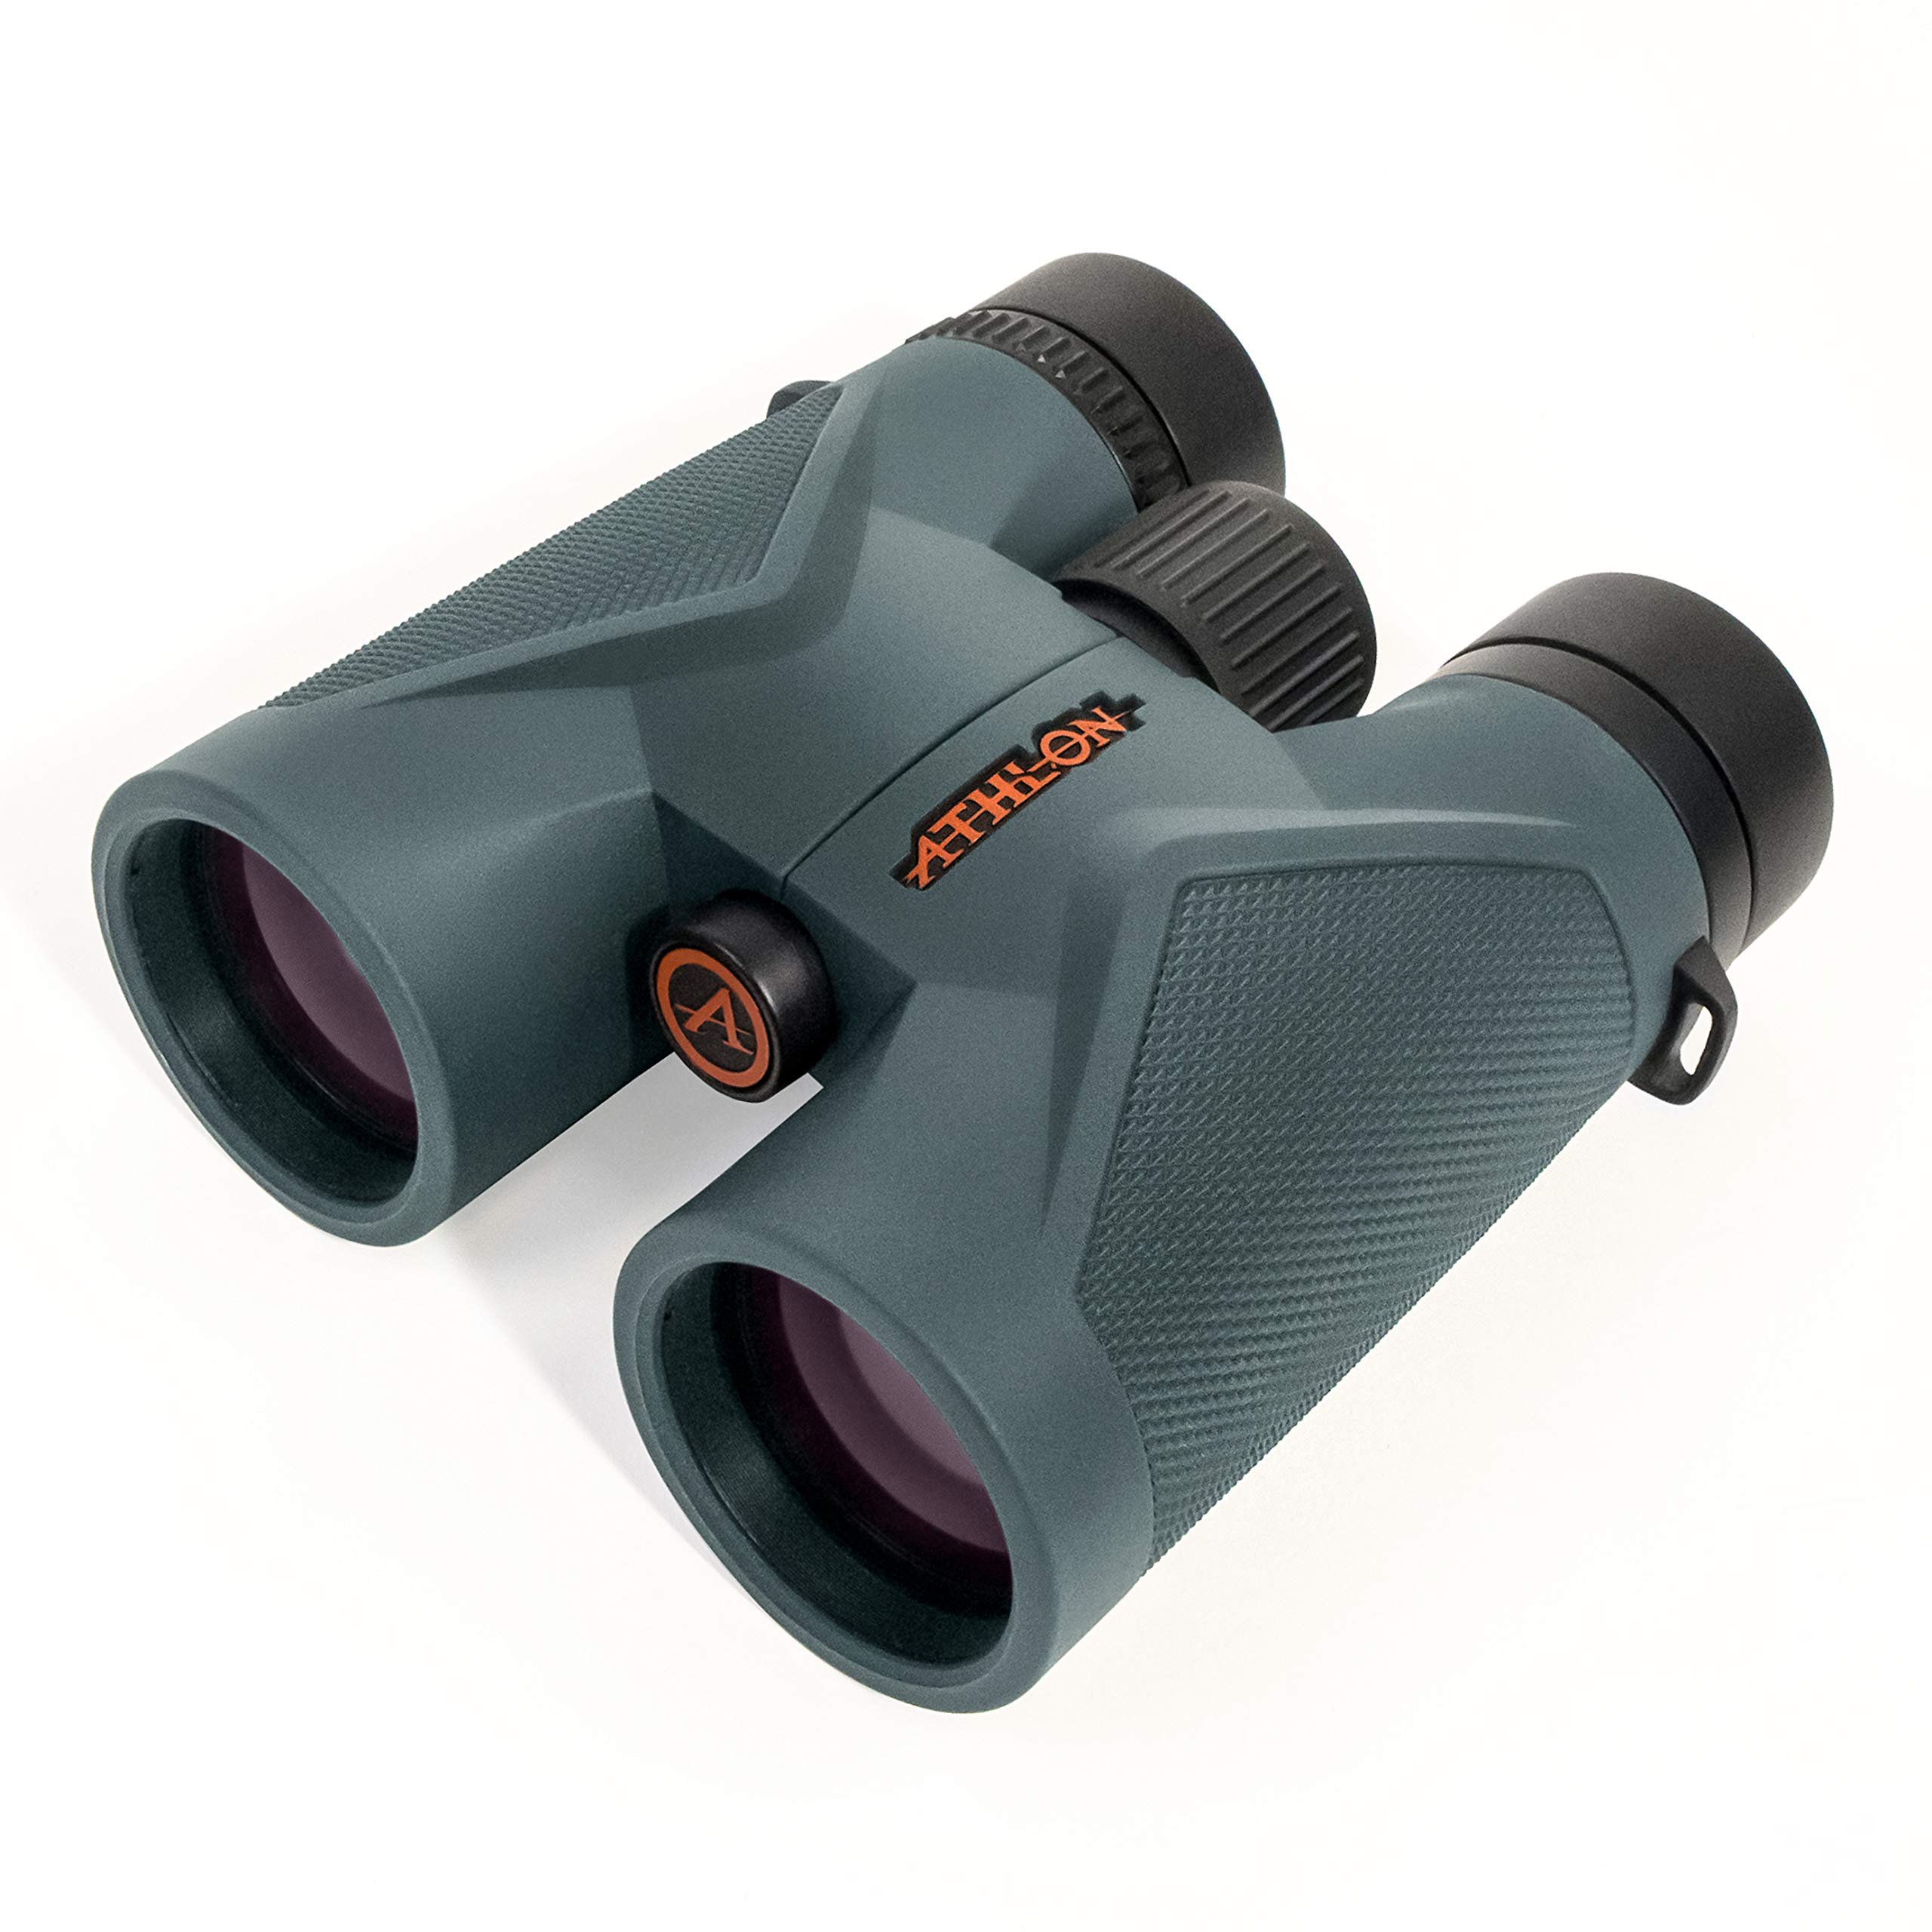
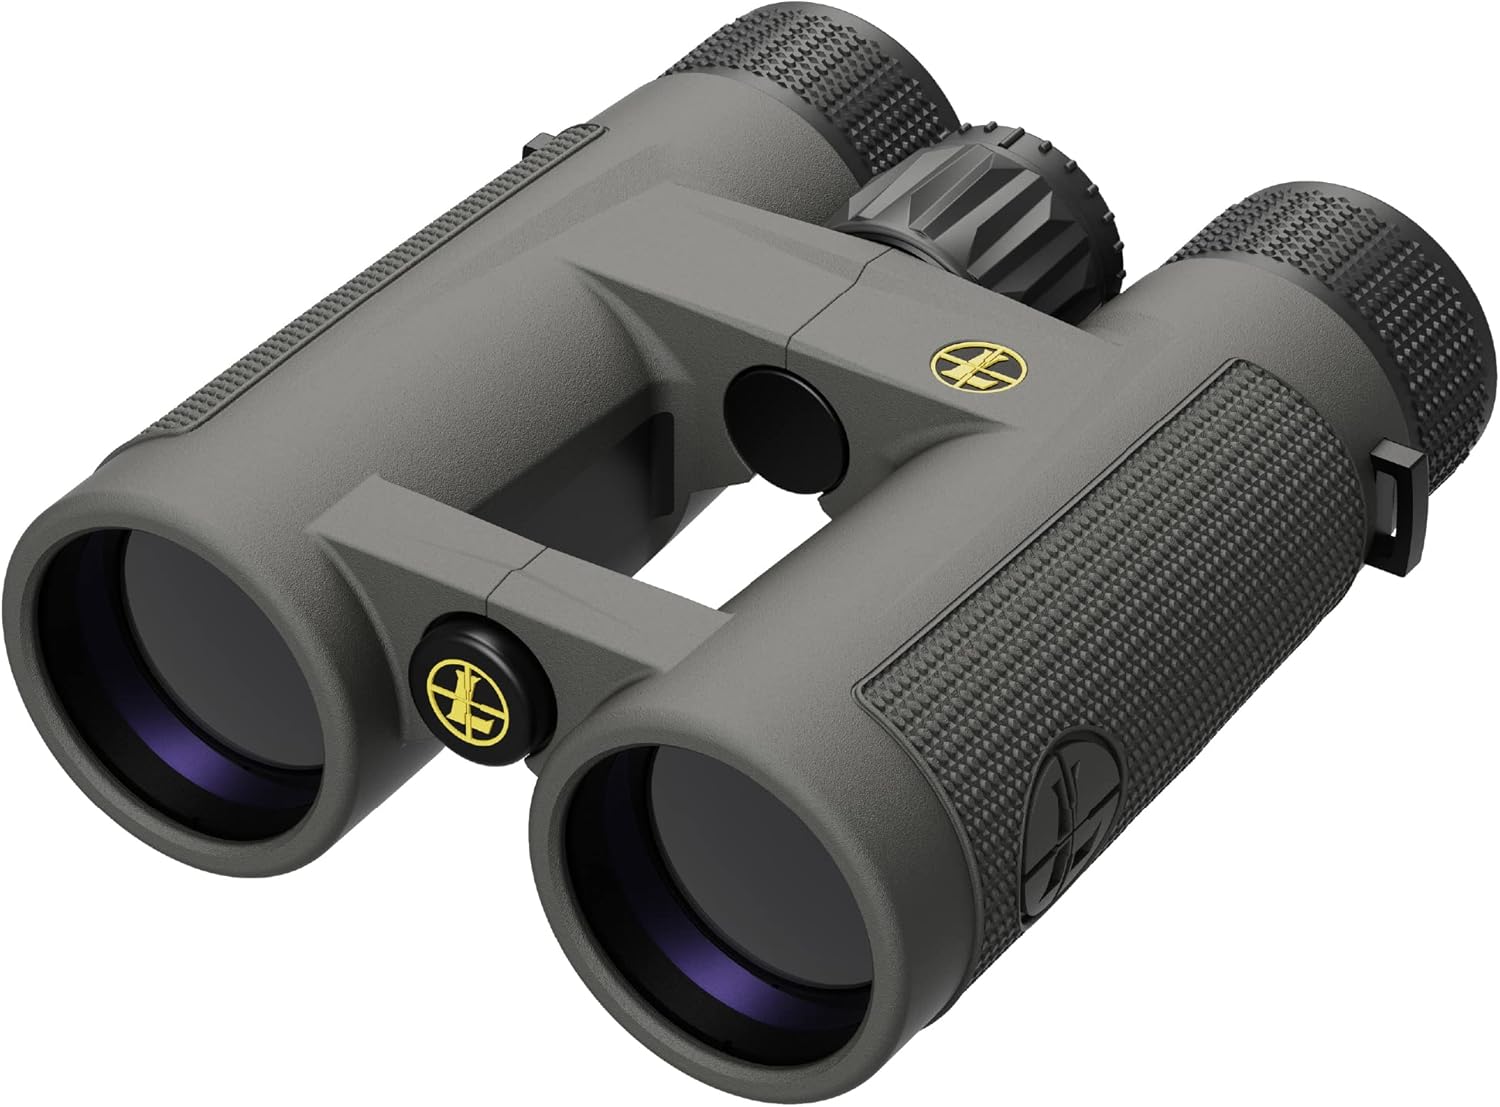
Our Tested Binocular Roundups
Now that you know how to choose, these are our current picks by use case. Every pair in these roundups has been tested on Oregon trails and along the coast. No brand pays for placement.


How to Choose Binoculars FAQs
8x is the best all-around magnification for most buyers. It delivers a wide field of view, holds steady in hand, and performs well at dawn and dusk when wildlife is most active. 10x is better for open terrain such as shorelines, high desert, or alpine meadows where subjects are far away and mostly stationary. Above 12x requires a tripod or stabilizing rest because hand tremor becomes impossible to control at that magnification level.
For regular outdoor use, plan on spending at least $150 to $200. Below that price, optical flaws, poor low-light performance, and fragile construction often lead to frustration and replacement. The practical sweet spot for most hikers and birders is $250 to $500, which covers quality roof prism designs from Vortex, Nikon, and Leupold with fully multi-coated lenses and waterproofing. Premium optics from Swarovski, Zeiss, and Leica start around $1,500 and are noticeably better, but the returns diminish steeply above $600 for recreational use.
It depends on how you will carry and use them. 42mm objective lens binoculars are the all-around standard: bright enough for dawn and dusk, manageable in weight at 22 to 28 ounces. 32mm is the right choice if you backpack or hike long distances and want to save weight without a big drop in optical quality. 25mm compact binoculars fit in a jacket pocket and work well in bright daylight but struggle in low light. 50mm is for low-light specialists: astronomy, coastal fog, and dawn wildlife observation, but at 30 to 40 ounces they are heavy to carry all day.
The prism type determines the shape of the binoculars. Porro prism binoculars have offset barrels that create a wider, more traditional shape. They produce excellent optical quality at lower price points and have better depth perception because of the wider objective spacing. Roof prism binoculars have straight barrels, a slimmer profile, and are more durable for outdoor use. Most modern binoculars are roof prism. At the same price, porro prisms often have an optical edge, but roof prisms are more practical for outdoor carry and have largely taken over the market above $200.
Yes, for any outdoor use. O-ring sealed and nitrogen-purged binoculars resist water intrusion and internal fogging in cold or humid conditions. On the Oregon coast, in forest at dawn, or hiking in rain, non-waterproof binoculars will fog internally over time and cannot be repaired without factory service. Any binoculars marketed for outdoor use above $150 should include waterproofing. Look for both waterproof and fogproof in the product description, which means nitrogen or argon purging prevents internal condensation when moving from cold to warm air.
For birding, prioritize field of view, close focus distance, and eye relief. Start with 8×42 as the baseline: the wider field of view makes it easier to locate birds in dense cover and track them in flight. Close focus of 6 feet or less matters for songbirds and butterflies at a feeder. If you wear glasses, prioritize eye relief of 15mm or more, ideally 17 to 20mm, or the image will cut off at the edges. Budget at least $250 for a birding-specific pair. See our full best birding binoculars roundup for current picks.